When it comes to sourdough it’s really easy to become overwhelmed with the various different techniques, equipment, time taken and general language used. This may leave you running for the hills instead of reaching for your bag of flour and I think that’s a real shame. I believe every family should be able to produce a fairly decent loaf of sourdough with minimal disruption to their week
By minimal disruption I mean your time, money spent on buying equipment and ingredients and also stress. Baking shouldn’t be stressful; in fact it should be the opposite! Nethertheless the art of sourdough baking is complex and lots of recipes and blogs out there are a great way for experts to show off their knowledge (and why not, eh? If you’ve got it flaunt it!) . They start talking about hydration ratios, culture variations, types of flour etc, etc… Immediately the beginner baker thinks “hold on a second, this is way too hard for me.” While you can get really technical with all these details you definitely don’t need to, a sourdough loaf is within everyone’s reach without taking a PHD in science! I hope this becomes a great beginners guide, a starting point in your sourdough journey.

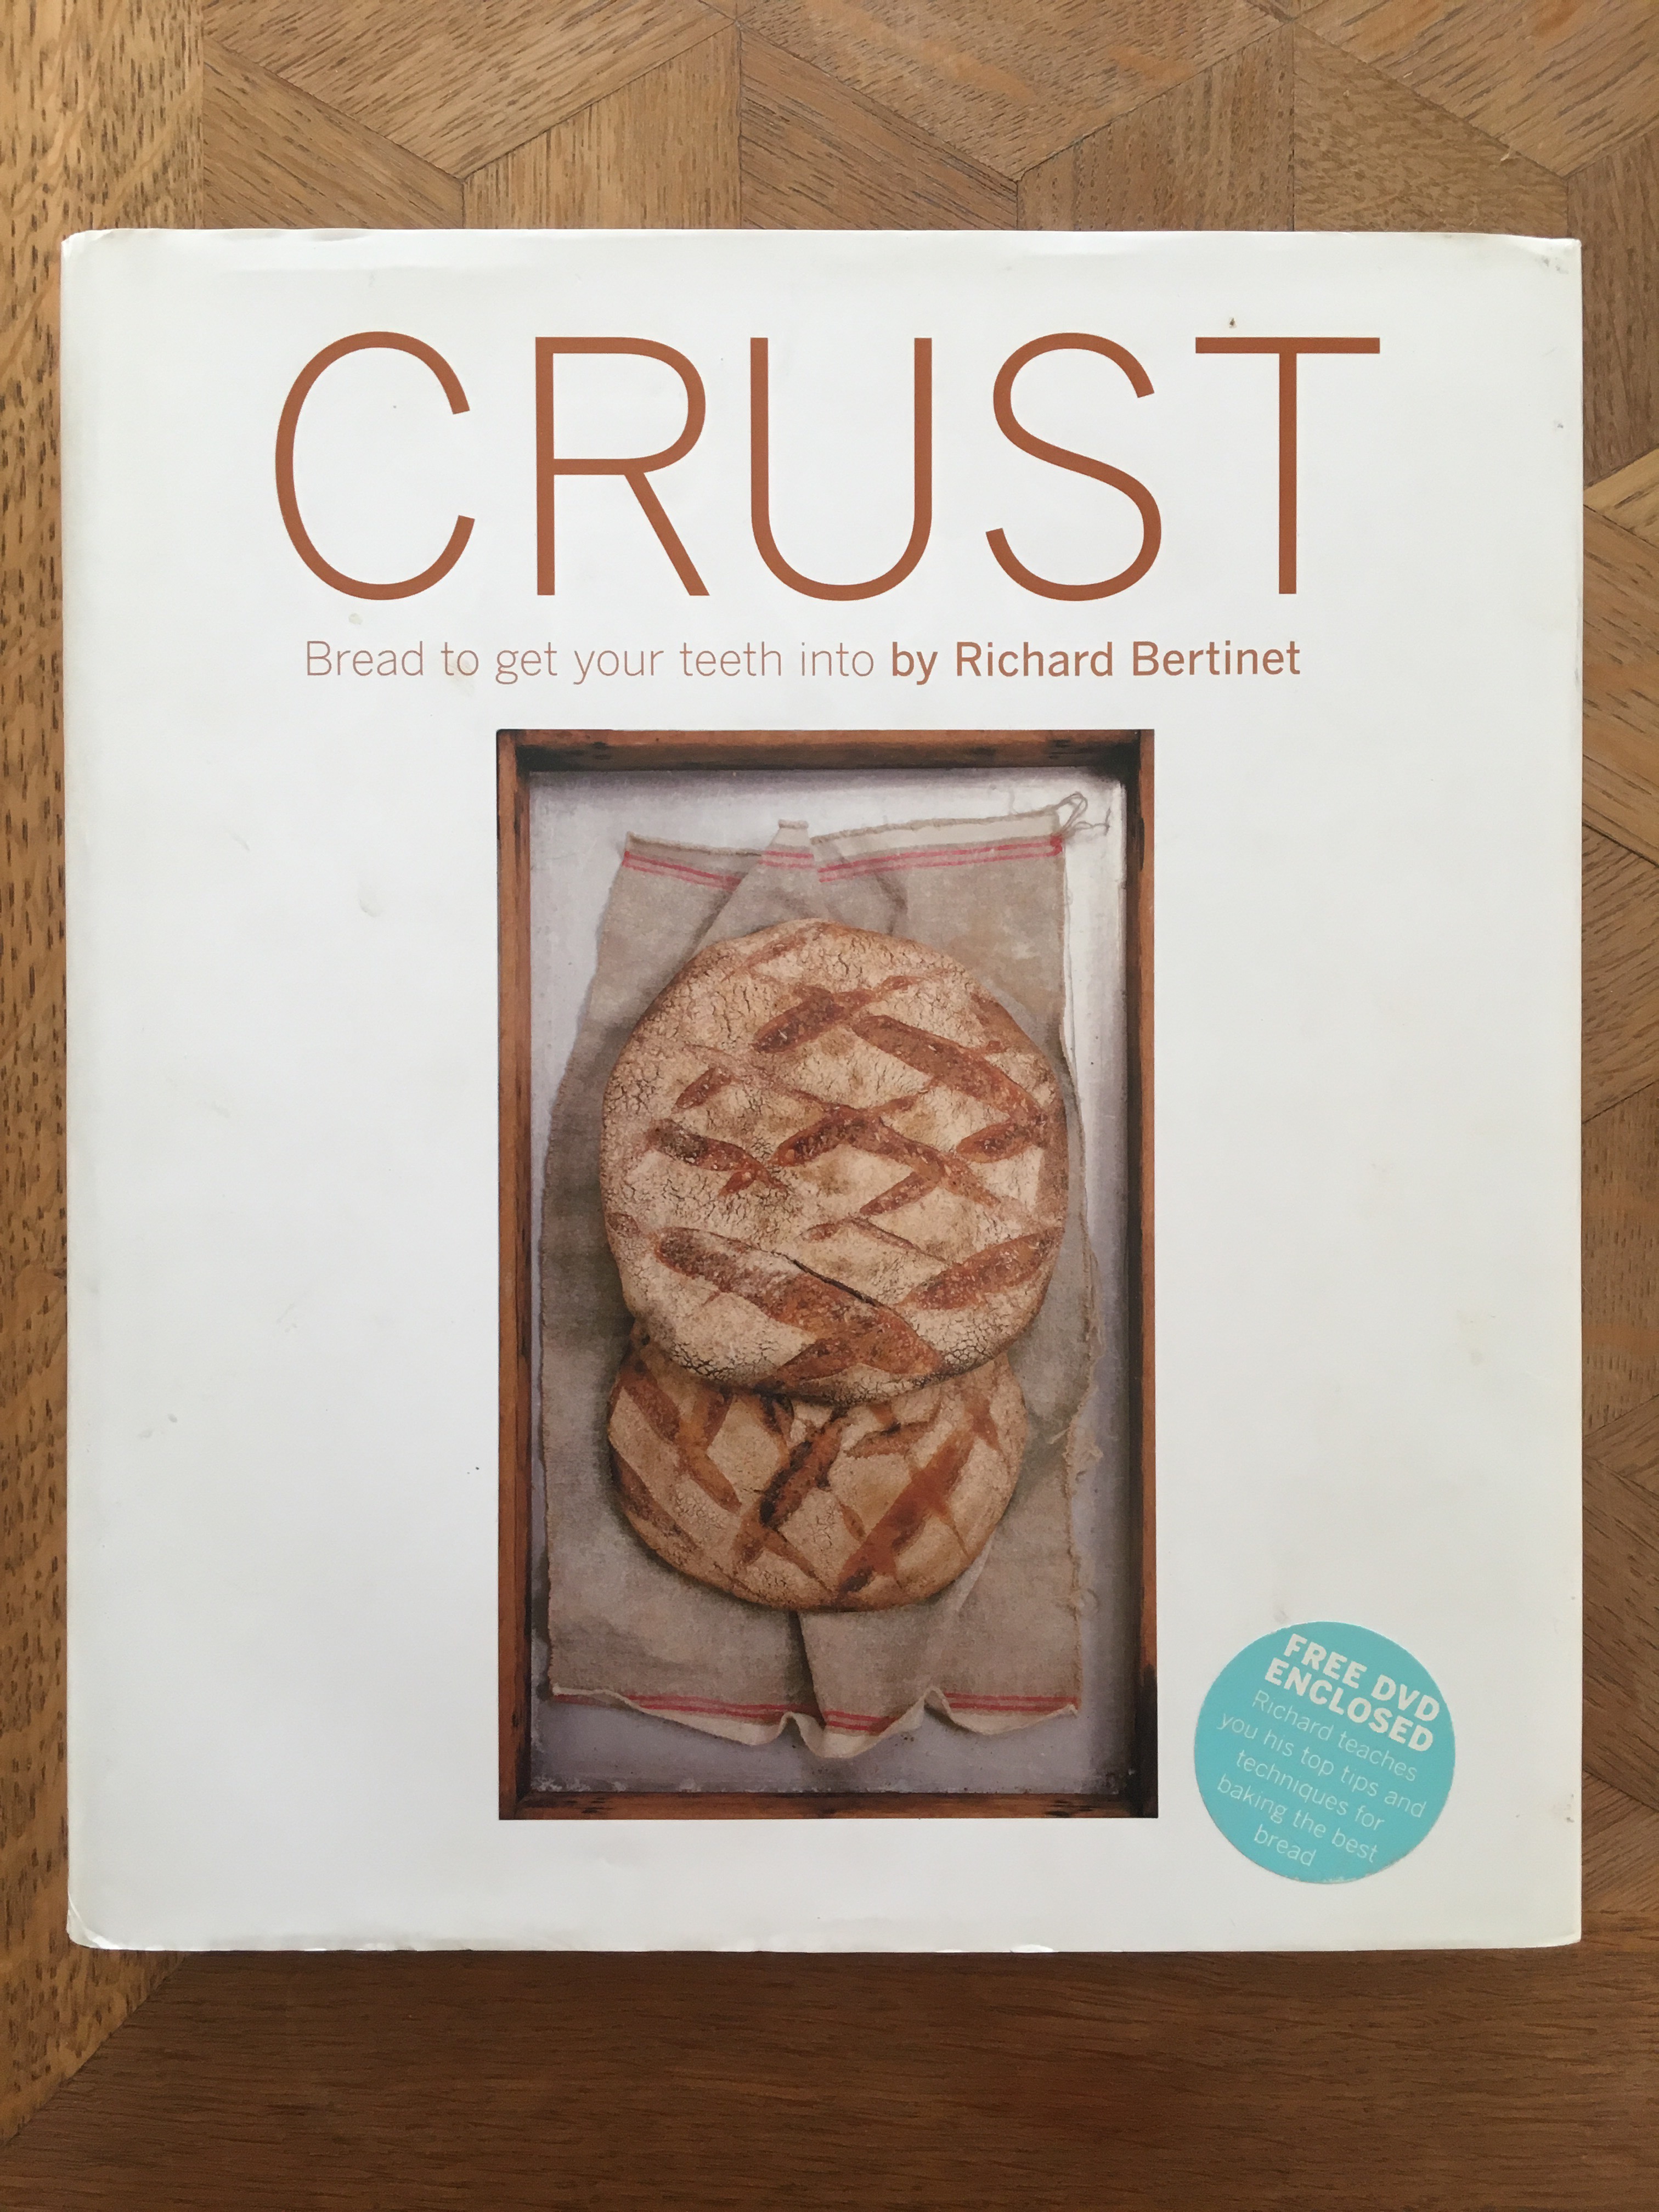
By all means once you’ve mastered the basics and are confident you can go a few months without killing your starter then explore the topic more. People get really geeky and scientific about the subject because it really is so interesting! In fact it’s pretty amazing when you think about it- a naturally fermented loaf, it’s like magic! There’s some great blogs and books out there, for me Richard Bertinet is a must for anyone interested in sourdough bread.
But what actually is sourdough and why is it so good for us? It may seem like a new fashion as it’s definitely THE bread buzzword of the moment but in actual fact it’s one of the oldest methods of bread production. It’s believed to have originated in Egypt around 1,500 BC, so it’s by no means a new technique.
Sourdough bread relies on wild yeasts to start the process of fermentation. Wild yeast are present in the environment, all around us, and a sourdough starter is the most common way to cultivate them in a way we can use for baking. Fermentation occurs when yeast converts sugars, present in flour, into carbon dioxide and alcohol. The carbon dioxide creates bubbles in the dough which cause it to rise, secondary to this the fermentation allows water and protein molecules to move around the dough creating a more complex network, or gluten structure. So the longer the fermentation is, the more complex the structure will be and therefore better texture the bread is going to have, the alcohol created gives the bread the flavour.

What happened in the early 1900’s is bread became mass-produced much like everything in the UK. Time = money so manufacturers wanted to speed up bread production time. They added loads of commercial yeast so a loaf could now be produced in around two hours, instead of two days. Unfortunately the mass produced loaf bares very little resemblance to traditionally produced bread, it has virtually no texture or flavour and is jammed with preserving agents to make sure it will last a week. This bread may be cheap but eating it comes with a much more serious cost, a cost to our health. Having had the manufacturing process fast forwarded to such an extent it is now incredibly difficult for us to digest and contains little to no nutritional value.

Take the soft crust of the sliced white loaf. You could definitely eat it without involving any teeth, right? When in fact it’s that delicious, hard crust on sourdough bread that tells our brain we are eating and subsequently prepares our body to digest. We produce saliva, containing enzymes that help us to break down what we are eating while we chew. However put a slice of soft white in your mouth and your brain has no need to produce those enzymes, you don’t need to chew to be able to swallow it. In short the modern loaf has become totally unrecognisable from traditionally produced bread and worryingly our bodies just don’t know how to deal with it!
During the long, slow fermentation process that occurs in sourdough bread the phytic acid (found in wheat bran) is broken down. This lack of acid makes the bread easier for our bodies to digest and is assumed to prevent the bloating and flatulence that many report after eating bread. In fact critics say those who suffer ill effects from eating bread may only suffer these because of the kind of bread they eat and not bread in itself! People are so quick to blame gluten for their health issues but increasingly the evidence points to the method of bread making NOT the gluten it itself.

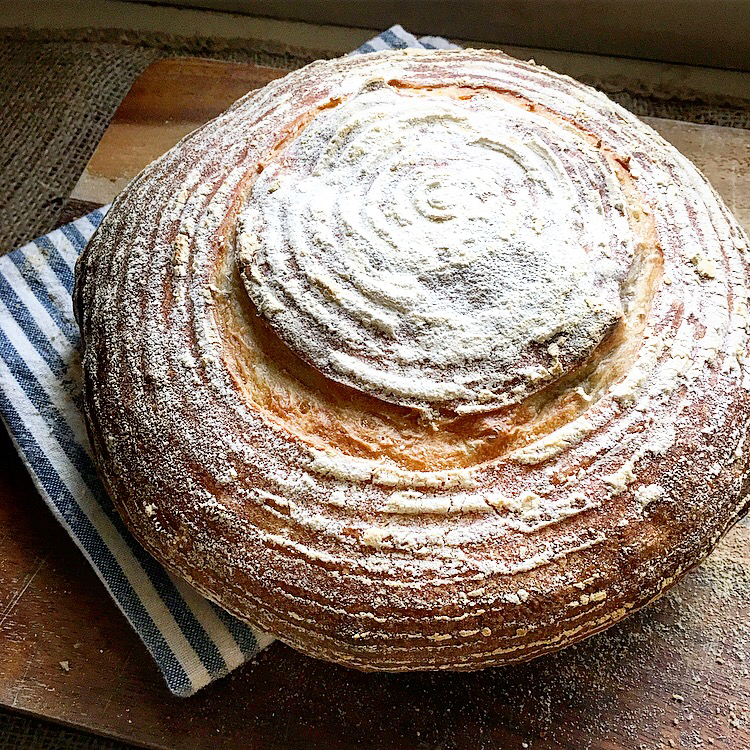
So here’s a basic recipe for a sourdough loaf containing no hidden nastiest, with a good hard crust and a lovely flavour. If you can master this you’ll always have decent bread in the house. It freezes really well too so keep any you can’t eat straight away sliced in a sandwich bag in the freezer.
MAKING A SOURDOUGH STARTER:
You’ll need a sourdough starter before you can think about tackling this recipe. If you don’t have one already then use the recipe below.
N.B. Try to do this at roughly the same time each day.
DAY 1: Combine 100g rye flour or wholewheat flour with 100g (weigh this) cool water in a non-reactive container. (you can use glass, , stainless steel, or food-grade plastic) I use a click top tall tuppawear, I got mine from Poundland.
Wholegrain flour (wholewheat or rye) is used at the beginning of the process, even if making a white loaf, because wholegrains contain more nutrients and sourdough-friendly microorganisms than white flour.
Stir everything together thoroughly; make sure there’s no dry floury patches anywhere. Cover the container loosely with cling film and let the mixture sit at warm room temperature for 24 hours.
DAY 2: You may see no activity at all in the first 24 hours, or you may see a bit of growth or bubbling. Either way, discard half the starter (100g) just throw it in the bin, and add another 100g each strong white flour and water to the remainder. Mix well, cover, and let the mixture rest at room temperature for 24 hours.
DAYS 3-7: By the third day you’ll likely see some activity – bubbling; a fresh, fruity aroma, and some evidence of expansion. It’s now time to begin two feedings daily, try and do one in first thing in the morning and one in the evening before bed. Each time weigh out 100g of your starter, discard any remaining starter, then add 100g strong white flour, and 100g cold water, mixing well.
After about a week of consistent feeding, your starter should be ready to use in a sourdough bread recipe. It should look like this:

As a last resort, if you’re desperate to bake a sourdough loaf and you just can’t get to grips with making your own starter you can buy one online. Hobbs House Bakery will sell you one but it isn’t cheap, I’ve also seen them on eBay but do that at your own risk!
I will say this though you CANNOT make a decent loaf without having an active starter. If you think your starter is dead or hasn’t fermented then don’t use it, start again. Just remember good bread takes time, it’s a great way to practice patience. I have tested this bread recipe 3 times just in the process of writing this blog (and made it hundreds of times previously) so I assure you, if you follow it, it works….but you must have an active starter!

Once you’ve got an active starter maintain it by using and feeding it once a week. I keep mine in the fridge and then once a week I bake with it and top it up with a cup of flour and water. If I don’t want to bake one week then I discard about 100g of starter then feed the remainder with a cup of flour and water. Do this every week.
Once you’ve made your loaf don’t forget to try my delicious ultimate grilled cheese sandwich and toast topper recipes!!
RIGHT LETS DO THIS:
What you need to buy
For the sake of a tenner I am going to advise you to get a proving basket, or banneton, if we’re getting technical. It really does make the loaf look nicer and it’s easier than free shaping pretty wet dough. You can but them in Lakeland, TX Maxx, and any specialist cook shop or online by clicking on one of these links.
Some decent flour. When you’re only using 3 ingredients they need to be good. The following flours are good quality and readily available, the first would be my top choice.
- Shipton Mill White Bread Flour
- Canadian Strong Bread Flour (Waitrose & Sainsbury sell one)
- Allinson Strong White Bread Flour
The rest you should already have; accurate digital scales, a mixing bowl and an oven! There’s also an option for baking if you have a cast iron pan, don’t buy one if you not but use it if you have one that will fit your loaf in. It produces a slightly superior crust and textured loaf.
Before you start you’ll need about two and a half hours in the house, the bread wont take up all this time but you’ll need to come back to it during this time.
 This is how your starter should look, lovely and bubbly, don’t begin until it looks like this!


Don’t worry that the dough looks lumpy and rough it with become soft and smooth as you rest and fold it.


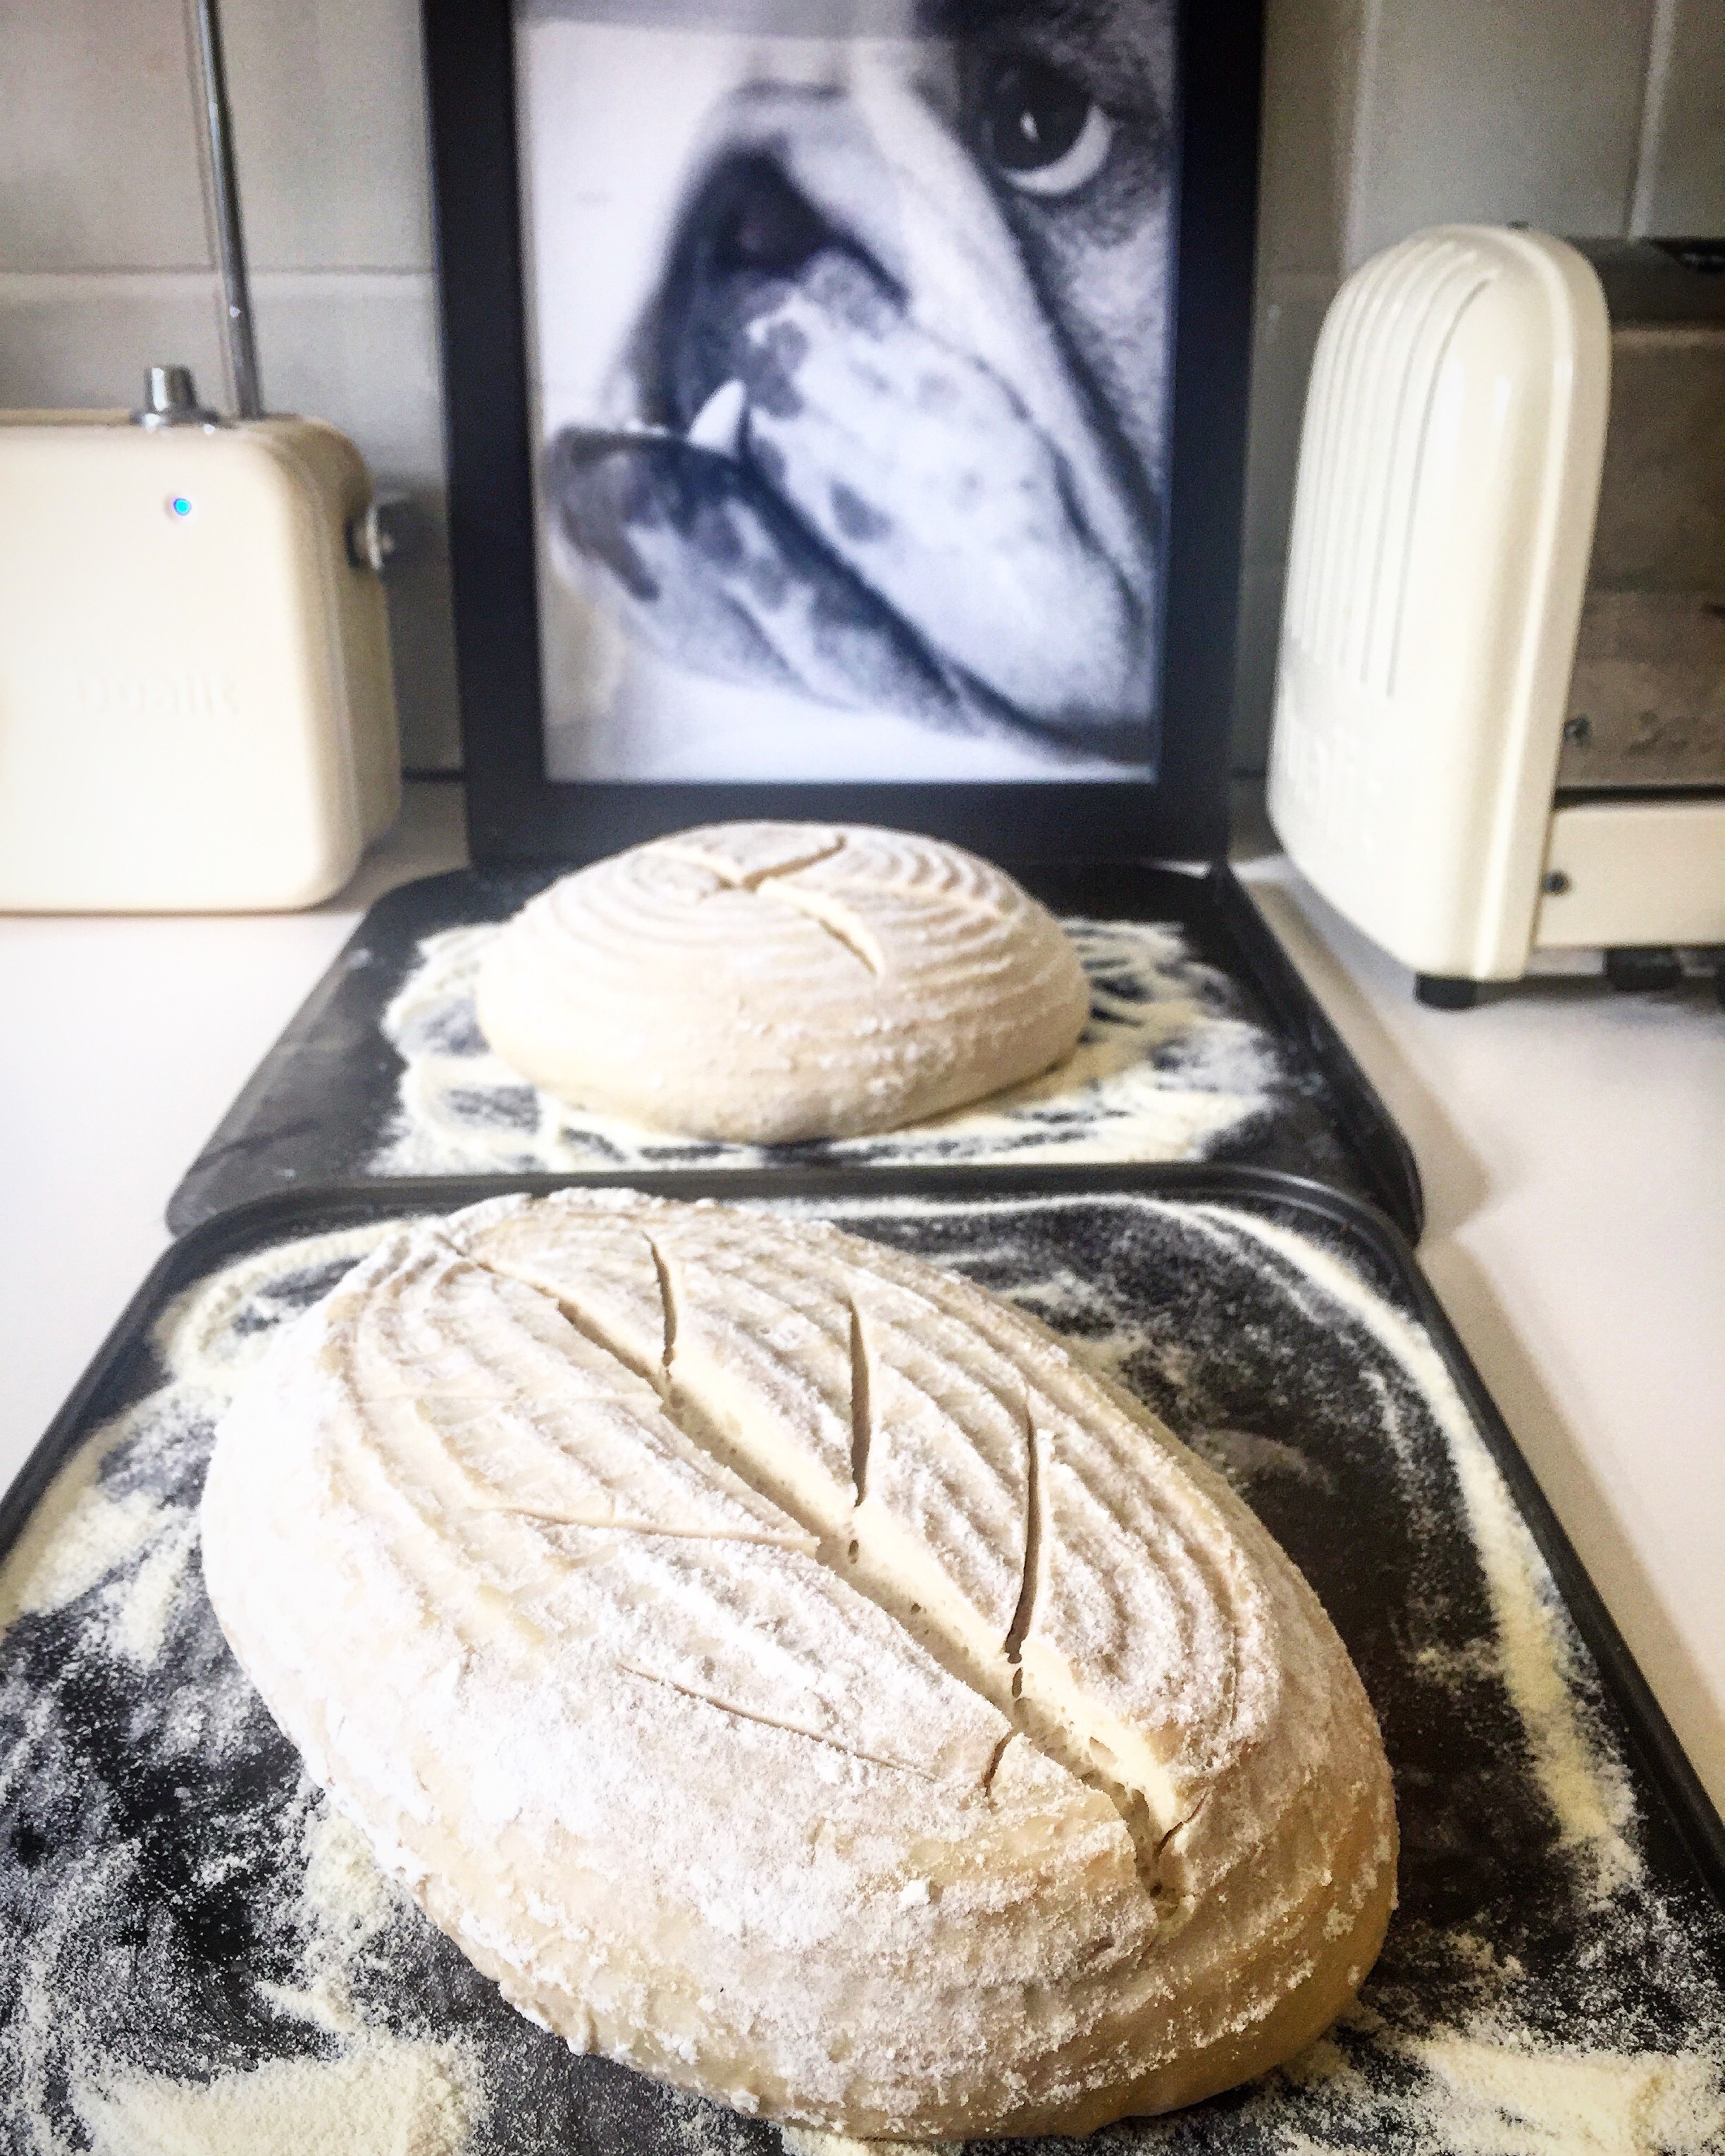
This is the size the dough will be after shaping.
 This is the size you’re looking for before transferring to the fridge. It will take about 10 -14 hours depending on how warm your kitchen is.
*in this video I say bake with the lid off first, that was a *typo, sorry, you bake with the lid on to create steam as it says in the recipe.


Simple Sourdough Bread
Makes 1 approx 850g Loaf
100g active and bubbling sourdough starter (see recipe link above) see picture for guide
500g strong white bread flour, see tips
300g water (weigh this, should be luke warm)
12g sea salt mixed with 15ml boiling water then left to cool
2 tbsp rice flour for dusting your proving basket
2 tbsp semolina flour for dusting your baking tray
1 Mix the dough
You need to start the bread about 24 hours before you want to eat it, so start early Saturday morning it will be ready to bake on Sunday morning.
Make sure your starter looks active and bubbling, see picture. Put the flour, water and sourdough starter in a medium mixing bowl and use a spoon to combine, once it starts to form a ball get your hands in and bring together so no floury patches remain. The dough will look lumpy and rough at this point but that’s fine. Clean out the bowl and then return the dough, cover with cling film or a clean shower cap and leave to rest for an 30 minutes at room temperature.
2 Add the salt:
Uncover and use your finger tips to poke loads of dents into the dough now pour the cooled salty water on top, the dents will help it evenly distribute. Cover again and leave for 15 minutes at room temperature.
3 Knead:
Now you’re ready to knead, we will do this 4 times in total with 25 minutes rest (at room temperature) in between each one. It will only take a couple of minutes to knead it’s very simple but you will feel the dough change in consistency as time goes on. I have included a video to show the turning movement.
Knead 1: Lift and fold your dough over, then move the bowl a quarter of a turn and lift and fold again. Do this movement 8-10 times in total. It will be very wet from the salt water but don’t worry, it will come together by the final knead. Cover again and leave for 20 minutes.
Knead 2: Lift and fold your dough over, then move the bowl a quarter of a turn and lift and fold again. Do this movement 6-8 times in total. Cover again and leave for 20 minutes.
Knead 3: Lift and fold your dough over, then move the bowl a quarter of a turn and lift and fold again. Do this movement 4-6 times in total. Cover again and leave for 20 minutes.
Knead 4: Lift and fold your dough over, then move the bowl a quarter of a turn and lift and fold again. Do this movement 4 times in total. Cover again and leave for 15 minutes.
4 Shape & Prove
Firstly dust your basket really well with 2 tbsp of ground rice flour (or regular flour if you can’t find this). Make sure it is really well floured all over or your bread will stick. Believe me I speak from experience.
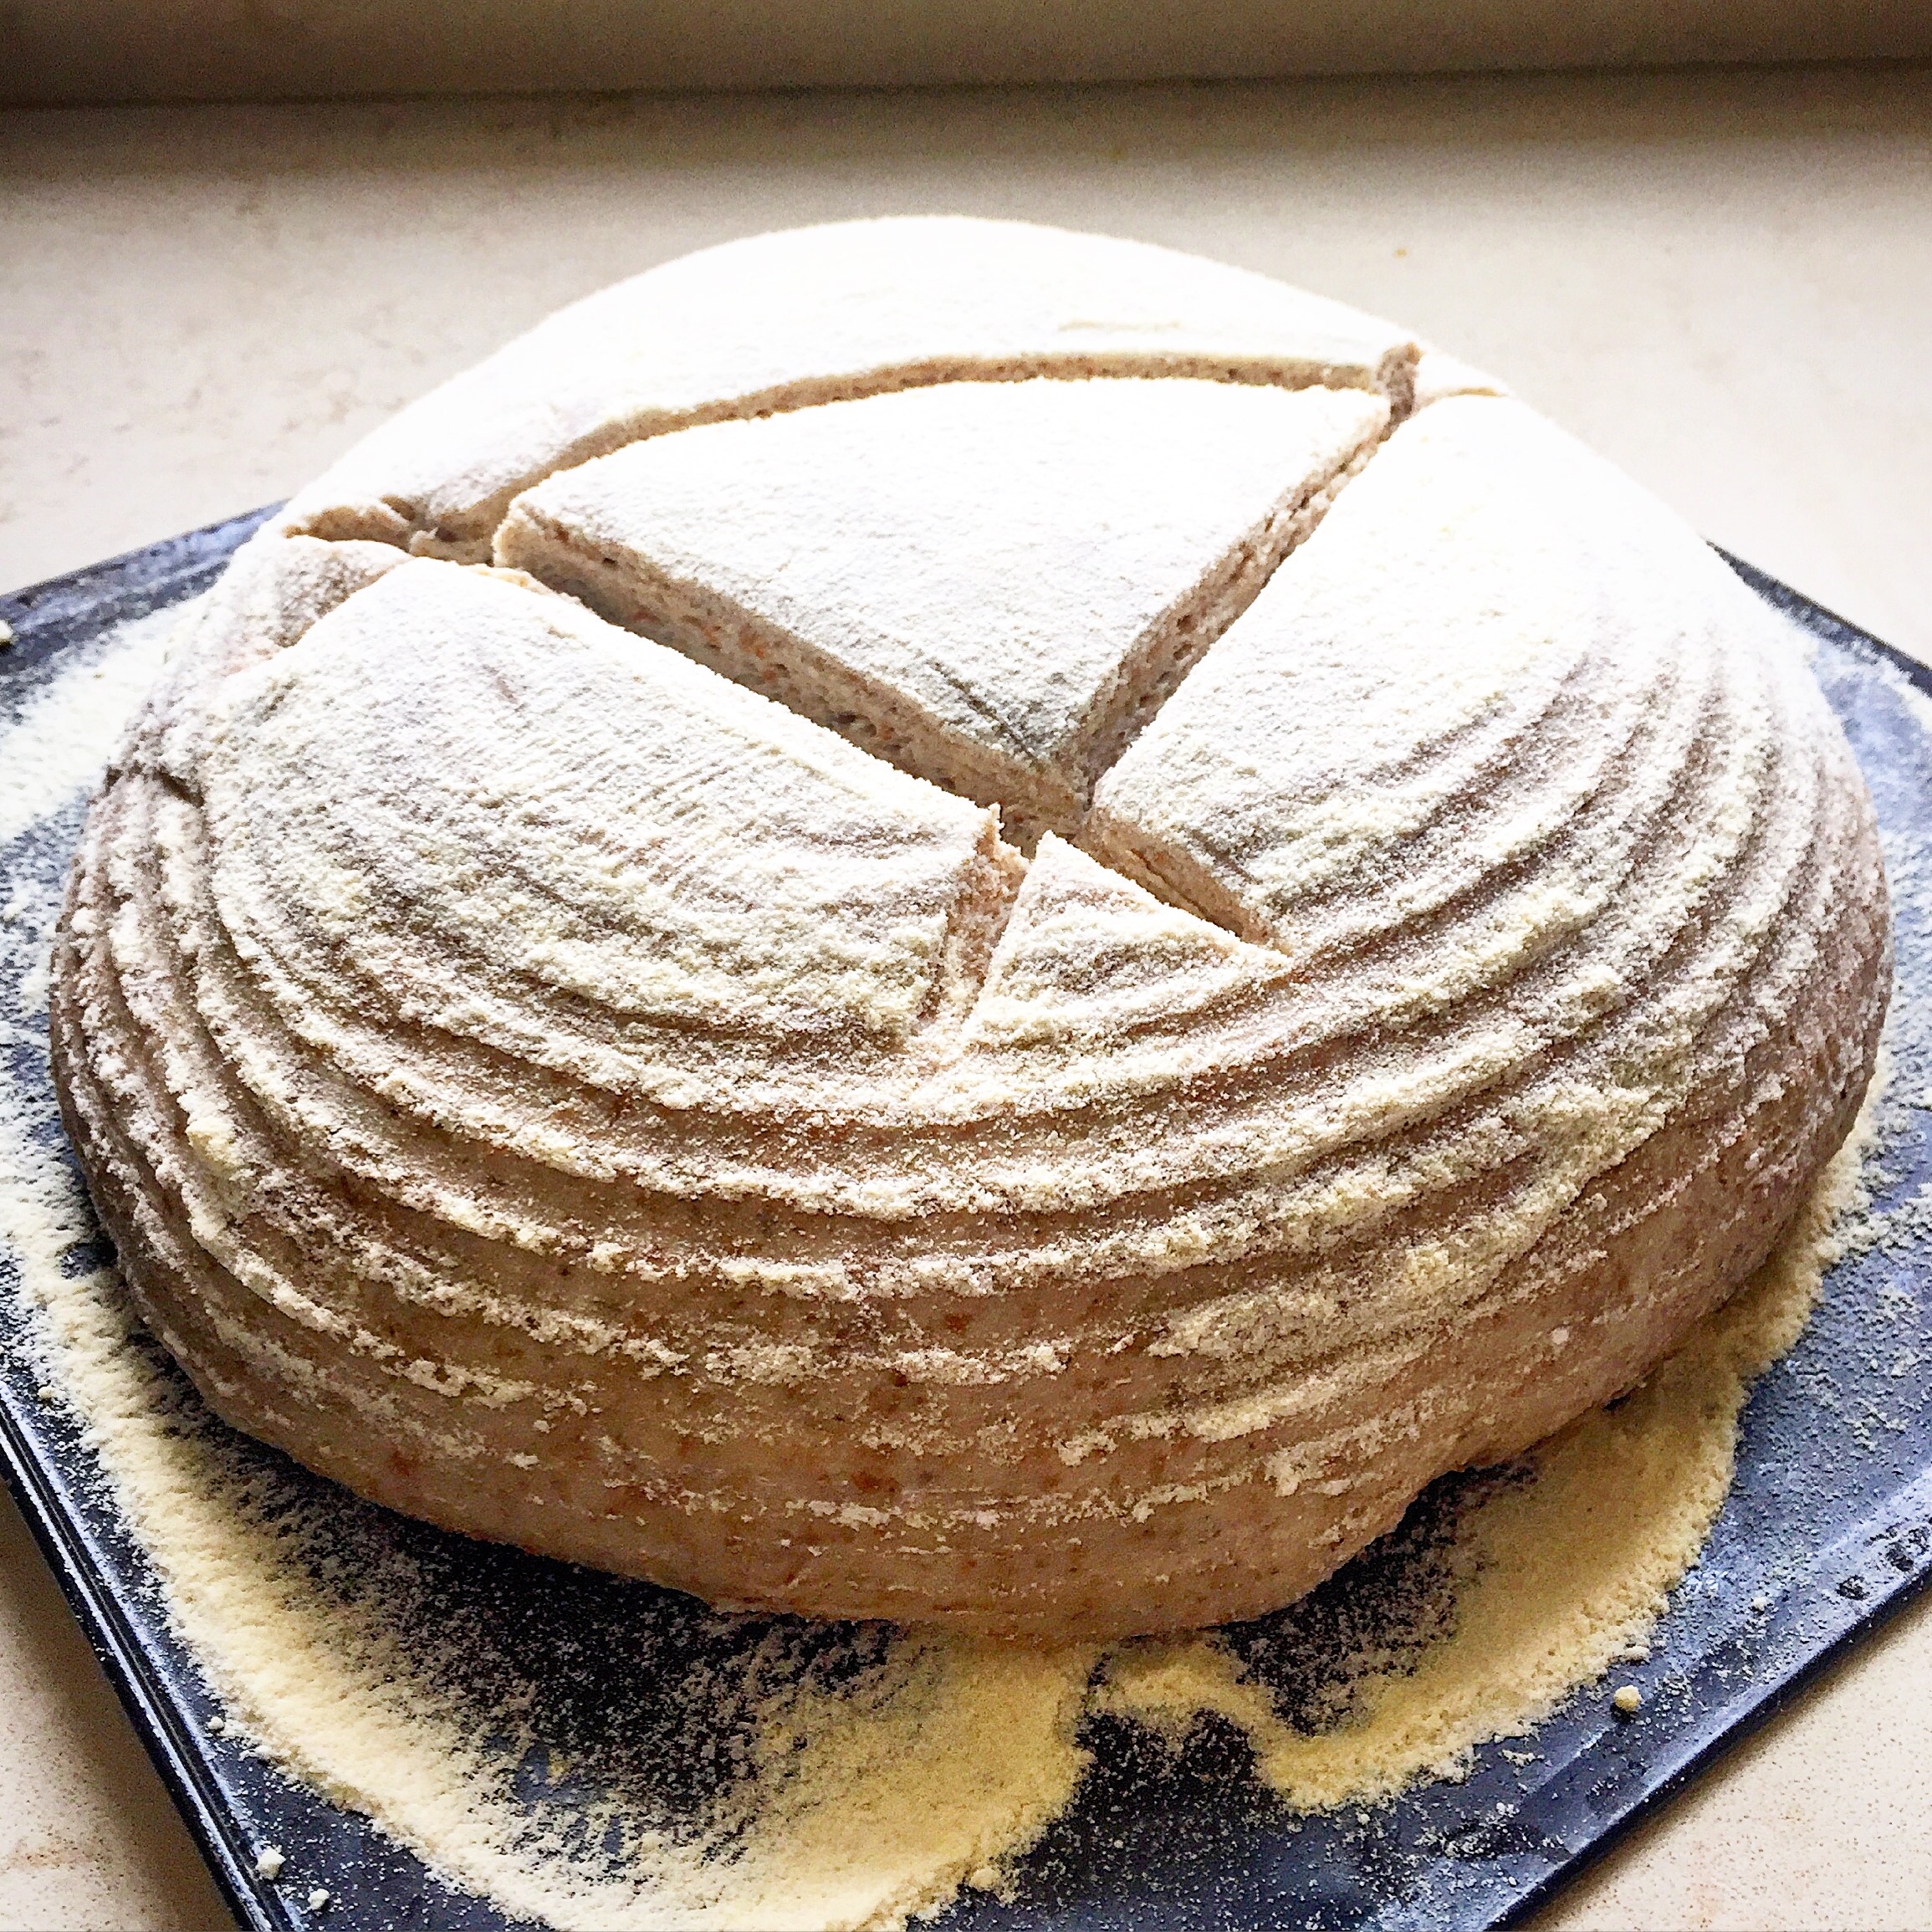
Take your dough ball and fold the edges round on itself then pinch together to create a seamed side and smooth side (see video). Put the ball, seem side down, in your basket, cover with your shower cap and leave out on the side until doubled in size (see picture.) Mine took 10 hours, it could take a little longer if your kitchen is cold. Once doubled in size transfer to the fridge for AT LEAST 12 hours, you can leave it for up to 18 hours if you like.
Do not be tempted to do this all at room temp to speed up the process, the dough will probably not come out the basket and the flavour wont be as good.
5 Bake
You’re now ready to bake your loaf and you have two options here 1) in a cast Iron pan with a lid, such as a le crustet. 2) on a standard baking tray spraying the oven with water. The first method will give you a thicker crust but if you don’t have a cast iron pan then the second is definitely good enough! Personally if this is your first time I would be going for option 2 as it’s easier to release the loaf onto a tray than into a very hot pan!
Method 1
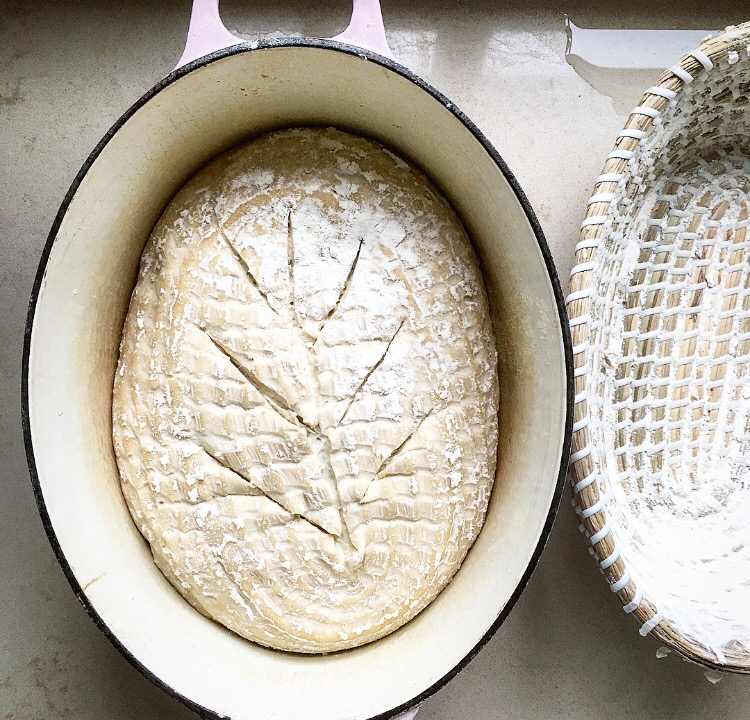
Heat oven to 240C/220C fan/gas 8. Take the lid of your pan and put it in the oven to heat up too. Carefully remove, it will be very hot, spray the sides with some oil (the kind that comes in a spray bottle). Dust the bottom with the semolina flour. Carefully invert your basket into the pan and shake to release the bread. Slash the top using a sharp knife or blade and put the lid on. Bake for 40 minutes then remove the lid and bake for 20 minutes more. Allow to cool a little before lifting onto a wire rack to cool completely.
Method 2
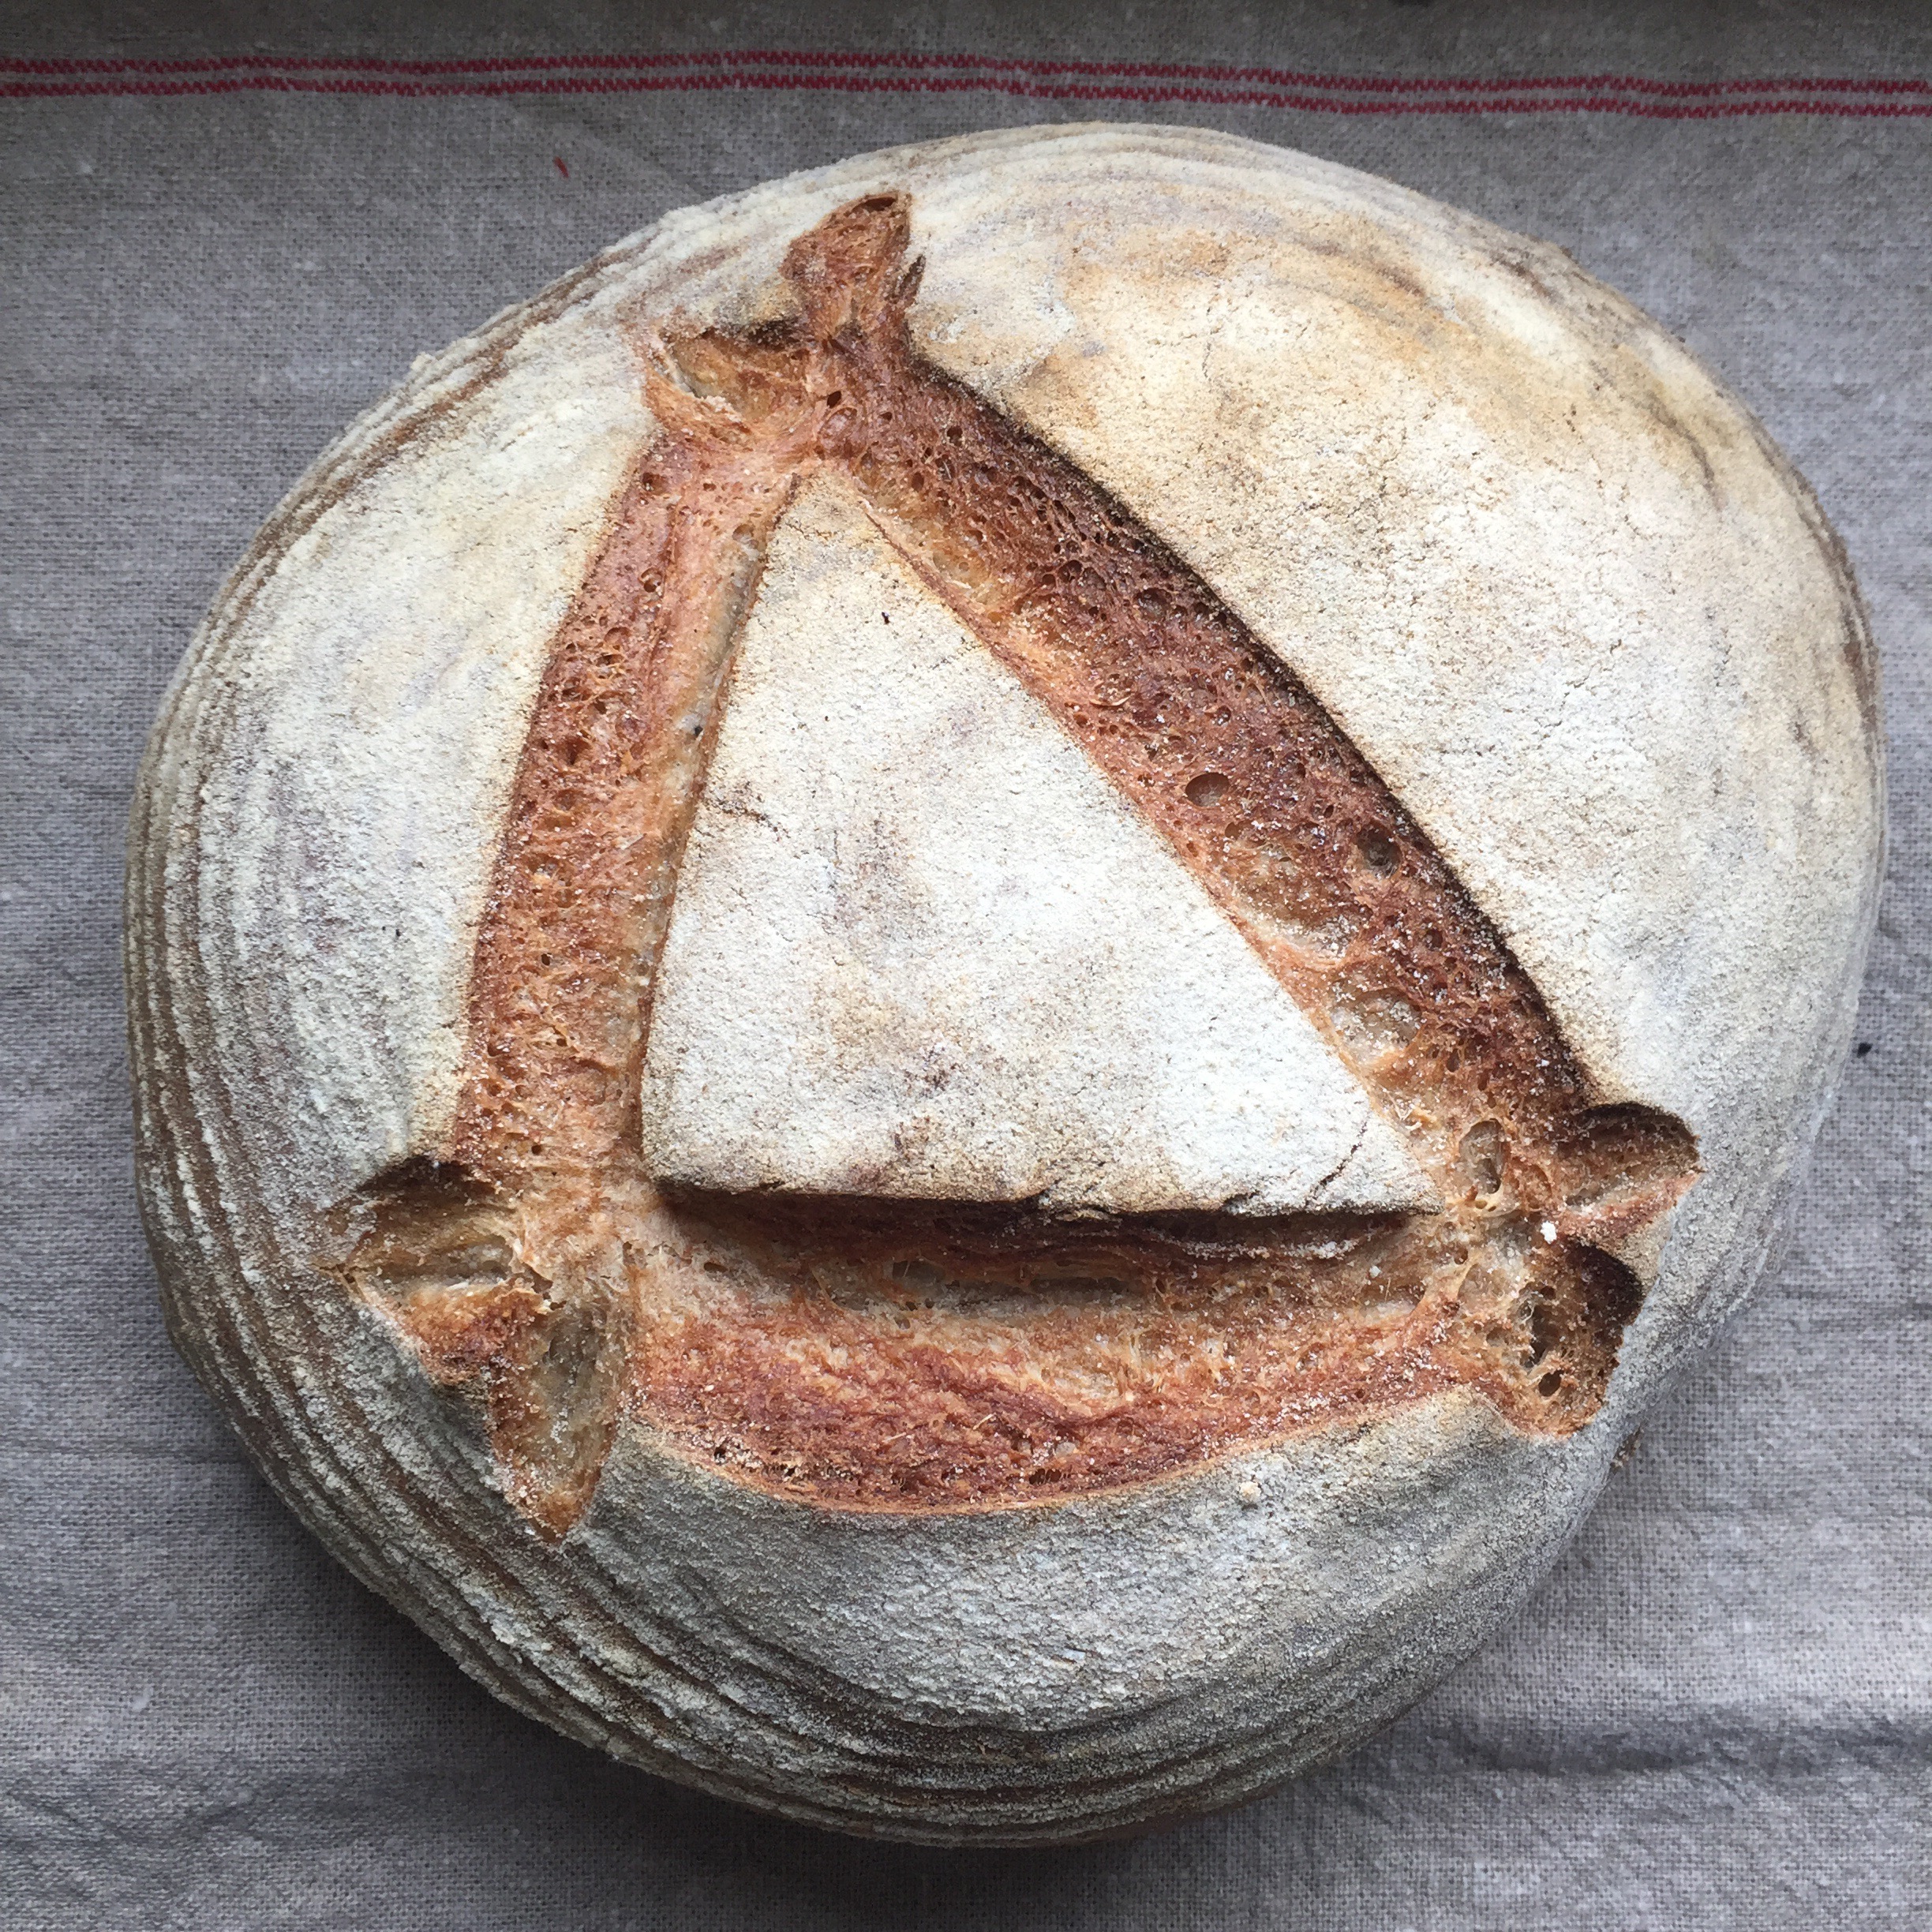
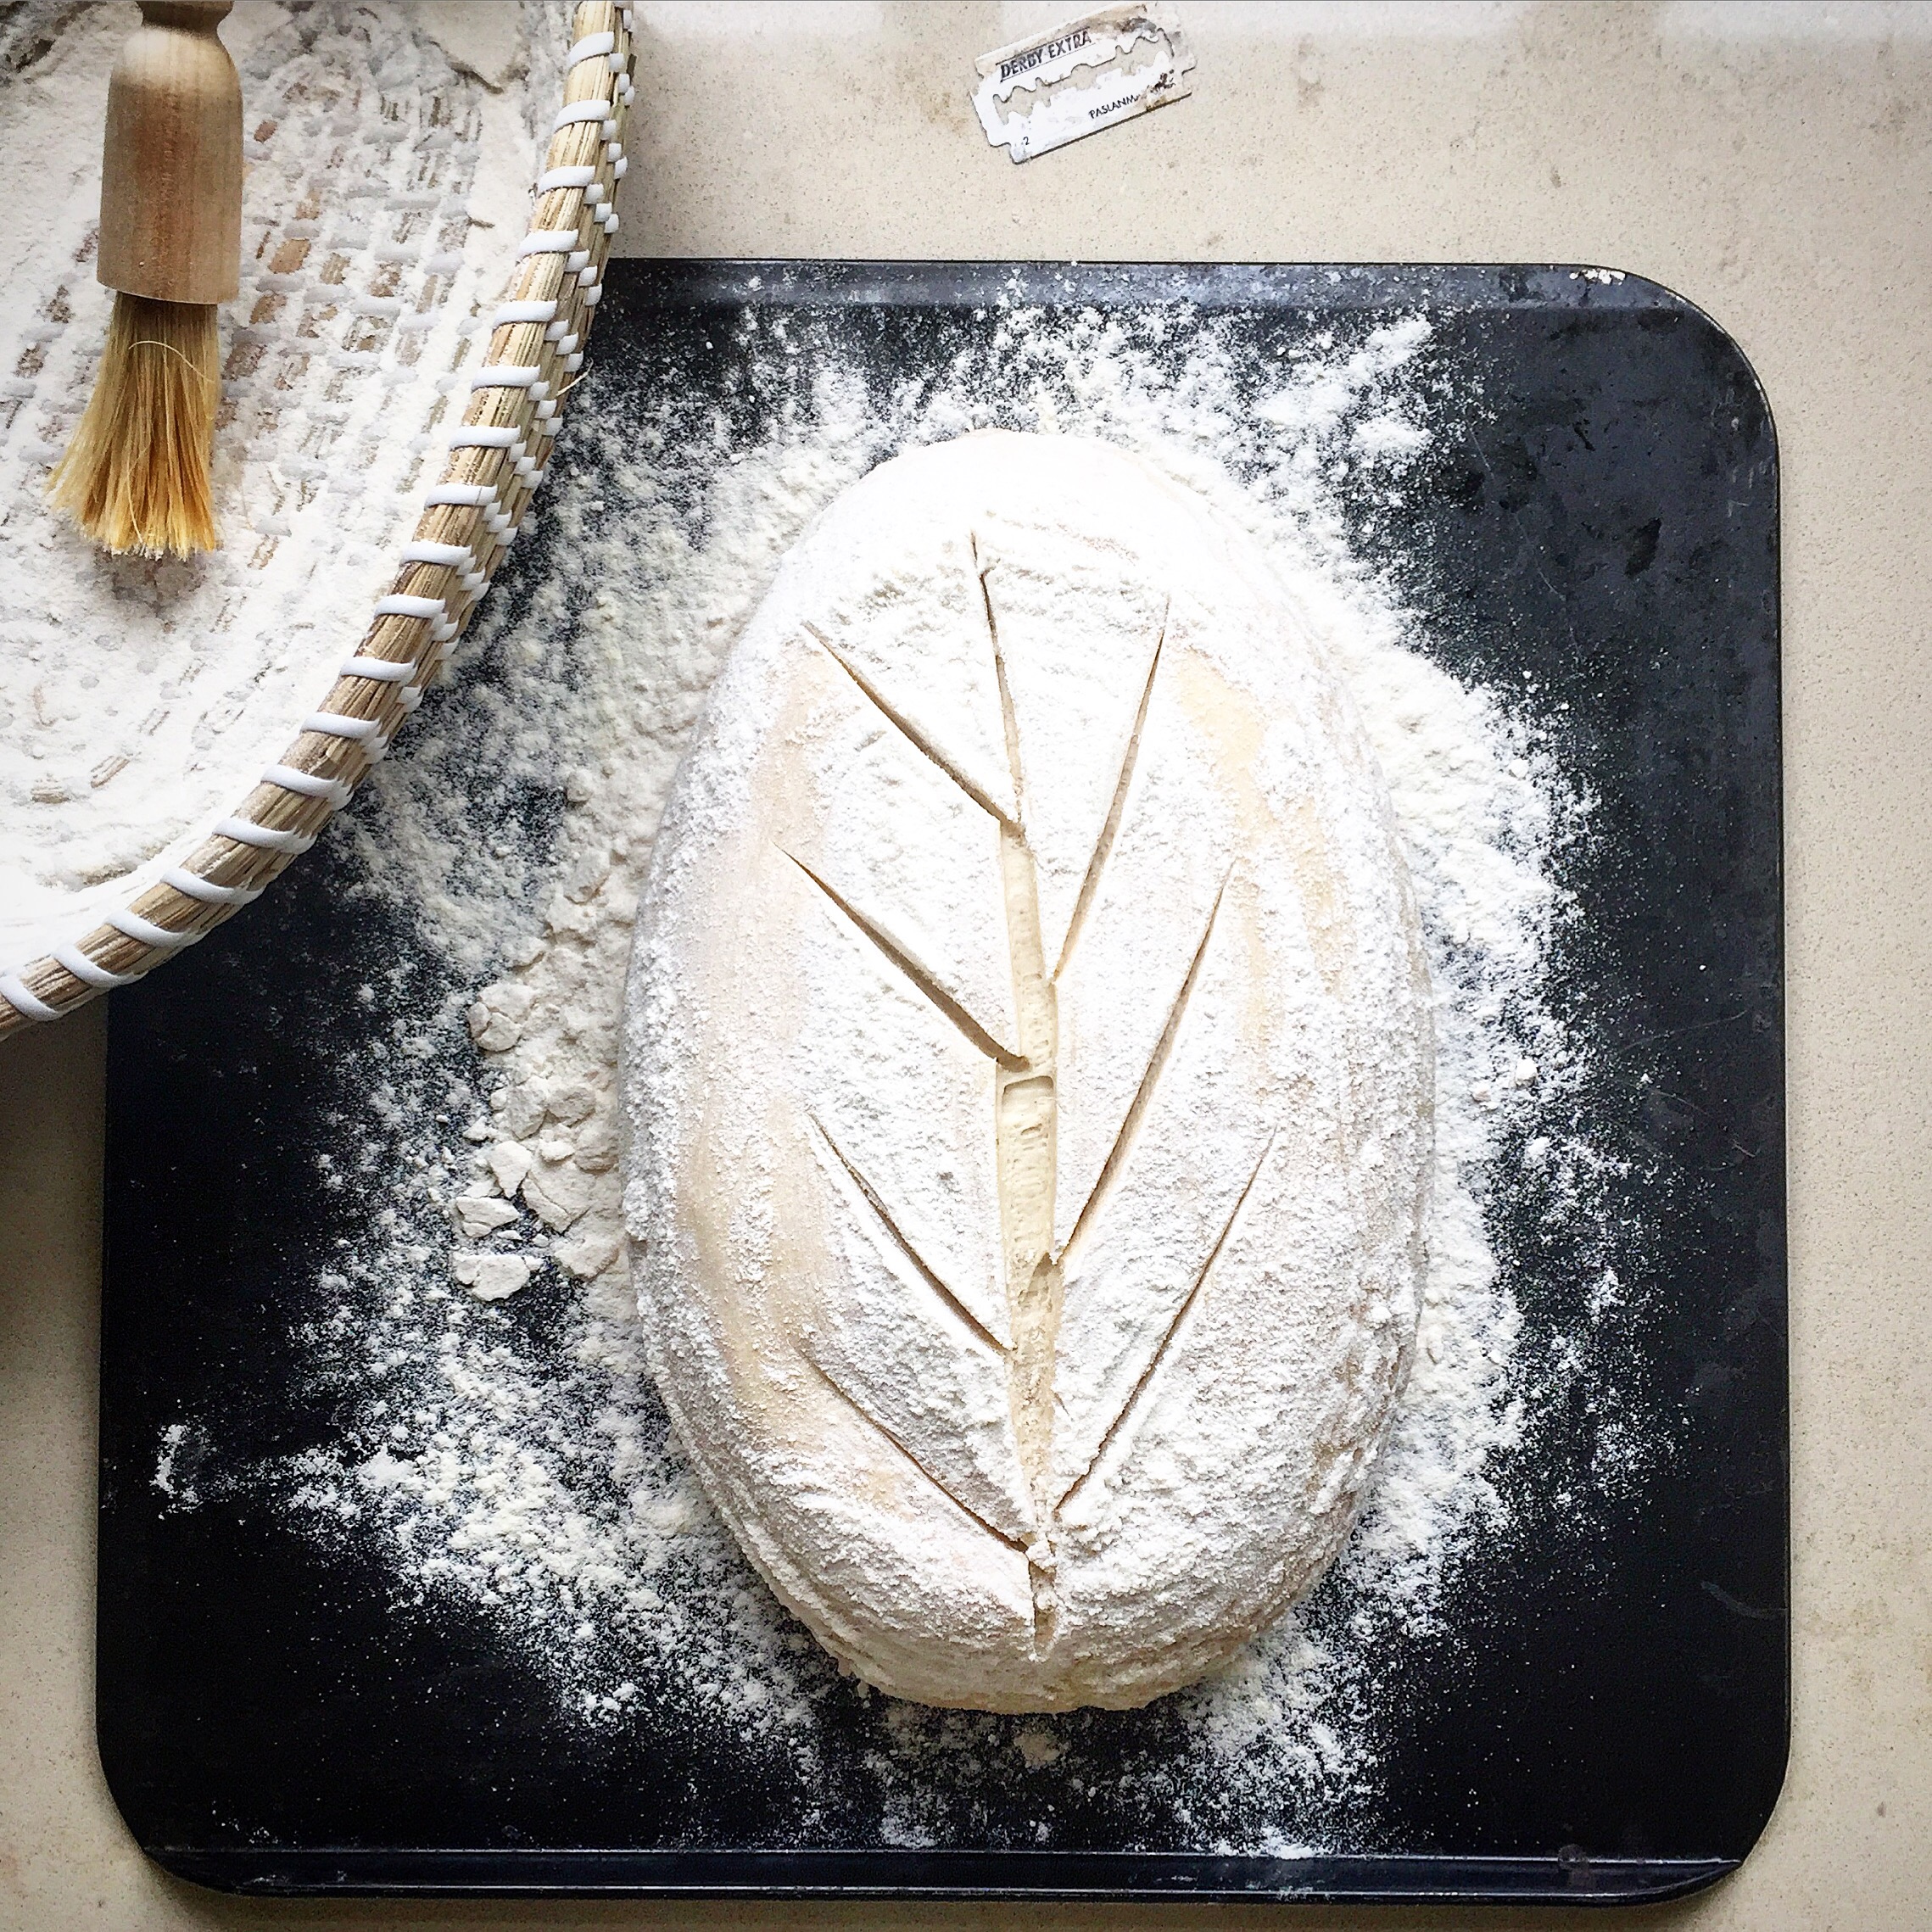
Heat oven to 240C/220C fan/gas 8. Take a tray and dust all over with semolina flour. Take your basket and invert onto the tray. Give the basket a firm tap on top then gently shake from side to side, you’ll hear it release. Carefully remove the basket. Using a blade or a very sharp knife make a slash. You can do this in any pattern you like, see pictures for ideas. It allows the steam to escape in a controlled way.
Have your spray bottle ready, put the tray in the oven and quickly spray the oven with the water, about 12 times. Do this fast so the temp doesn’t drop too much.
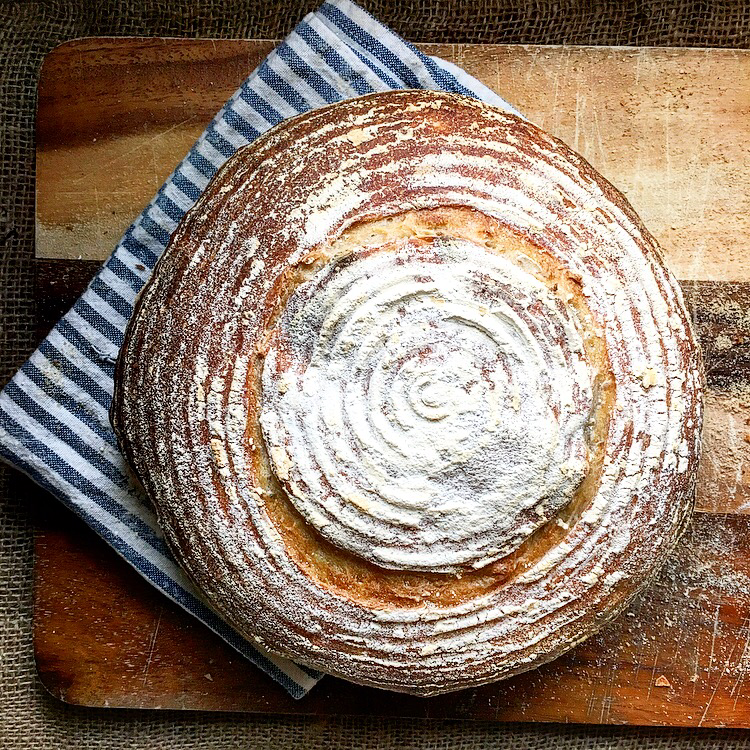
Bake for 30 minutes. Opening and spraying again half way through. Check your bread it should be dark golden and the crust should be hard. When you turn it over the base should be golden and hard and sound hollow when tapped. If not then cook for a further 5-10 minutes. Cool on a wire rack before slicing.

Hi, I already replied to your picture on Instagram (@stayaliveandcookingdotcom) but I also wanted to leave a message now that I’ve read your blog: I’m super happy that you shared this! I actually ordered a book on this subject and baking bread in general but it’s not in yet, and I am soooooo ready to begin… however, I’m not sure yet if I can keep it up so I don’t want to invest in it too much yet – do you have any alternatives for the basket you proof the bread in?
Also, I wanted to ask you if it was okay if I share this post on my blog next month or so: I want to do a round-up of blogs I’ve been loving lately. Cheers!
LikeLiked by 1 person
Hi there, you’re more than welcome to share the post. Thank you for your kind comments. I really wouldn’t want to recommend an alternative to the basket because I haven’t tried anything myself and I’d hate for you to get that far with your bread and then it get stuck in something! I think it really is worth investing in one though, if you make a loaf each week you’ll soon make your money back instead of buying bread! Lucy
LikeLike
Hi Lucy! My first was a success, although air bubbles maybe a little too tight, but the last three have all exploded out the side during cooking! Still tastes amazing but on the escaped side the air in bread is massive so not perfect for spreading anything on! Any idea what part of the method I might need tweaking!? 😐 X
LikeLike
Hi Claire, when you say exploded out the side what do you mean? The side of what- did you use a cast iron pan or cook it on a baking tray? Let me know and I’ll get back to you on what I think it is x
LikeLike
I’m baking it on a tray and effectively one side grows 2-3 times the other, so is lopsided with a buldge out of the side! Still tastes amazing…so all is not lost!
And congratulations on your little announcement, so lovely to hear! X
LikeLike
Thank you!! If you’re definitely slashing the dough before it bakes for the air to escape I think the one sided explosions you mention are definitely underproving. By baking too early, there is too much trapped steam and uncooked dough and not enough room under the crust for the baking dough to stay under control. The crust will then burst. The energy finds the weakest crust spot and then “explodes” into it, or out beyond the crust. By letting the dough proof longer and rise more there is more surface area and more control over the expansion. Try leaving it for longer next time and see how you get on. X
LikeLike
Hi there!
I’ve been following your instructions and my sourdough starter is almost ready (i think?). At the weekend I want to try and follow however I have a question, can I use the starter from room temperature or should I put it in the fridge first before I use it?
Thanks in advance.
LikeLike
Use it from room temperature!! Thanks and good luck – happy baking!
LikeLike
Turns out I had forgotten to turn the steam injection on in my oven for those exploded loaves! I’m back in the game 🙂
LikeLike
Thank you SO much for taking the time to film all this and write it out so clearly and concisely. Out of dozens of recipes and blogs I read this was by far the best and easiest to follow. Every single thing I needed to know was there and after reading your instructions a thousand times, I’ve now baked three loaves and they have all been perfect! I was prepared for my first couple to be duds but they weren’t – yay!
Thanks again 🙂
LikeLiked by 1 person
Thank you for your lovely comments – I’m so glad you found the blog useful! X
LikeLike
Hi
Going to try your recipe but just have one question. Do I put the loaf straight in the oven from the fridge or bring it up to room temperature.
Thanks
LikeLike
You can do either – it’s easier to get out the basket and slash when it’s cold x
LikeLike
Thanks tried it straight from the fridge and it worked a treat. Still need to tweak it but the best loaf I’ve made so far and easiest instructions
LikeLiked by 1 person
Thank you for such detailed and clear instructions; I’ve been wanting to start making sourdough and I’m now planning to use your method. One question though – when you shape the dough and put it in the basket why seam side down? That goes against everything I’ve ever read about shaping bread dough.
LikeLike
Hi Kevin, it’s just a small mistake – I’ll change it – I had no idea it said seem side down, it’s seen side up. Thanks!
LikeLike
Hi Lucy I just wanted to thank you for helping me learn how to make sourdough bread a couple of years ago. I’d never really made bread before but for some reason sourdough fascinated me and I decided to try. As you say, the variety of techniques and advice is mindboggling and quite daunting. I came across your blog and it seemed straightforward and your loaf worked. I’ve made it many times, experimented with various books and even been on a workshop. I’ve now recommended you to my two sons and they are trying for themselves, successfully, I’m happy to say. Thank you so much. I’m now going to try some of your other recipes which look delicious!
LikeLike
Thank you for the lovely comments Virginia! Im so pleased it worked for you, making sourdough is really handy now with buying yeast a major challenge! Take care!
LikeLike