I love making birthday cakes. For me the enjoyment is twofold, firstly the pleasure gained from making the cake, which if you take it slowly and tackle it piece by piece can be also very therapeutic and relaxing. Secondly the gratification that comes from seeing how happy you’ve made someone else. It would take the stoniest of hearts not to break into a huge, gleeful smile when presented with a gorgeous, homemade Birthday cake! It really is the best present you can give, not only is it a gift of food, which everyone loves, it’s the gift of your time. Giving someone your time, I think, is the ultimate compliment.
I’m aware that this may seem like an overwhelming recipe at first glance but it really is quite simple if you break it down. Get the cakes out the way first, these take a maximum of 30 minutes to make and 25 to cook, then once they’re cool you can wrap them in cling film and leave them for up to 24 hours at room temperature or freeze them for up to a month. If freezing allow to defrost at room temperature for a few hours before you need them.
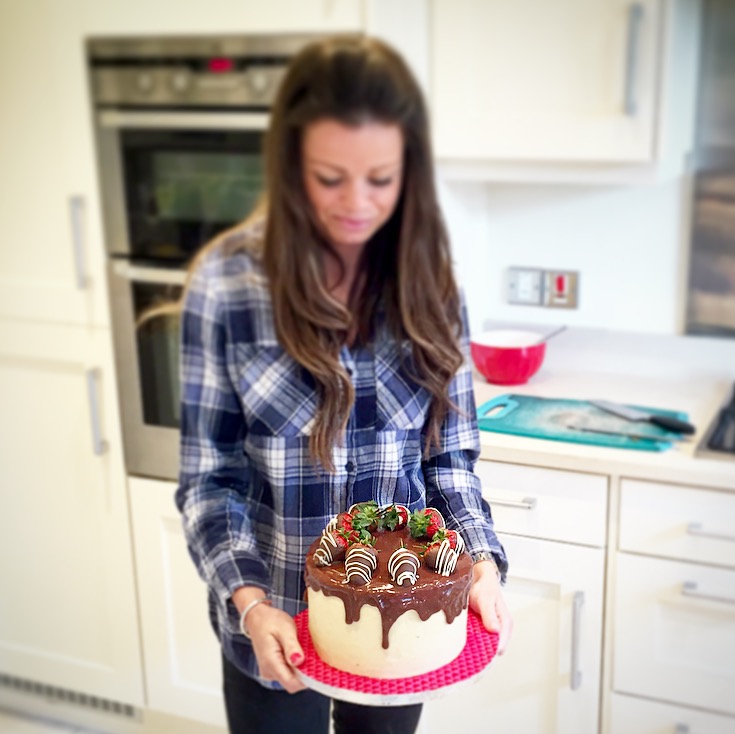
When you’re feeling good and ready you can tackle the buttercream next. This will take you about 30 minutes in total. Get your first ice done then clear up and take a breather with a cup of tea while it chills. After the second ice you can leave it a few hours or even a day before decorating. The icing and strawberries will probably only take you a couple of hours, that includes the setting time too and then hey presto the cake is done! You wait to see just how proud you will feel when you’ve made this beautiful cake, plus how happy the recipient will be, just make sure you get a big slice!
Try and use this approach in other areas of your life. It’s easy to feel overwhelmed when we try to tackle too many obstacles at once. We may feel that we can’t face our problems, there are just to many and we start to feel panicked. Once panic has set in we stop using the logical part of our brains, we aren’t able to think constructively and fail to talk things through with others. We almost become trapped in a suspended cycle of fear, we carry on worrying about everything without ever resolving or working through our problems, they become even bigger than they were and the pressure and stress we feel increases . Try instead to break things down into manageable chunks. Tackle one at a time; don’t even think about the other things until you feel you have what you’re working on well under control. There’s no rush, no ticking time bomb, it’s much easier to deal with single things than a huge tangle of issue. Plus you’ll be surprised to find that once you’ve dealt with the first few problems the others start to improve as well.
Good luck with the cake and if you do have a go I’d love to see, just use #bakingyoubetter! I’ve put some helpful assembly and icing videos on my Instagram @bakingyoubetter.

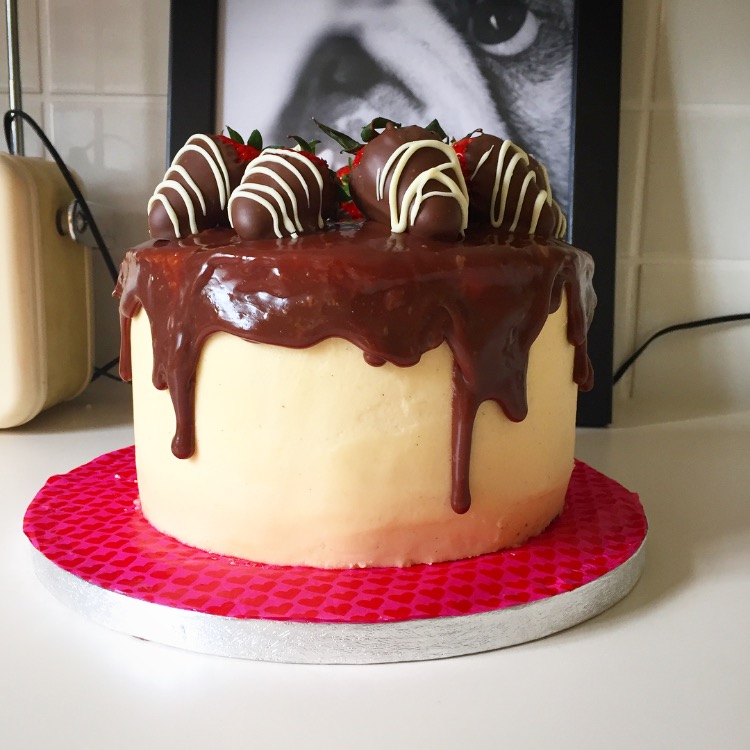

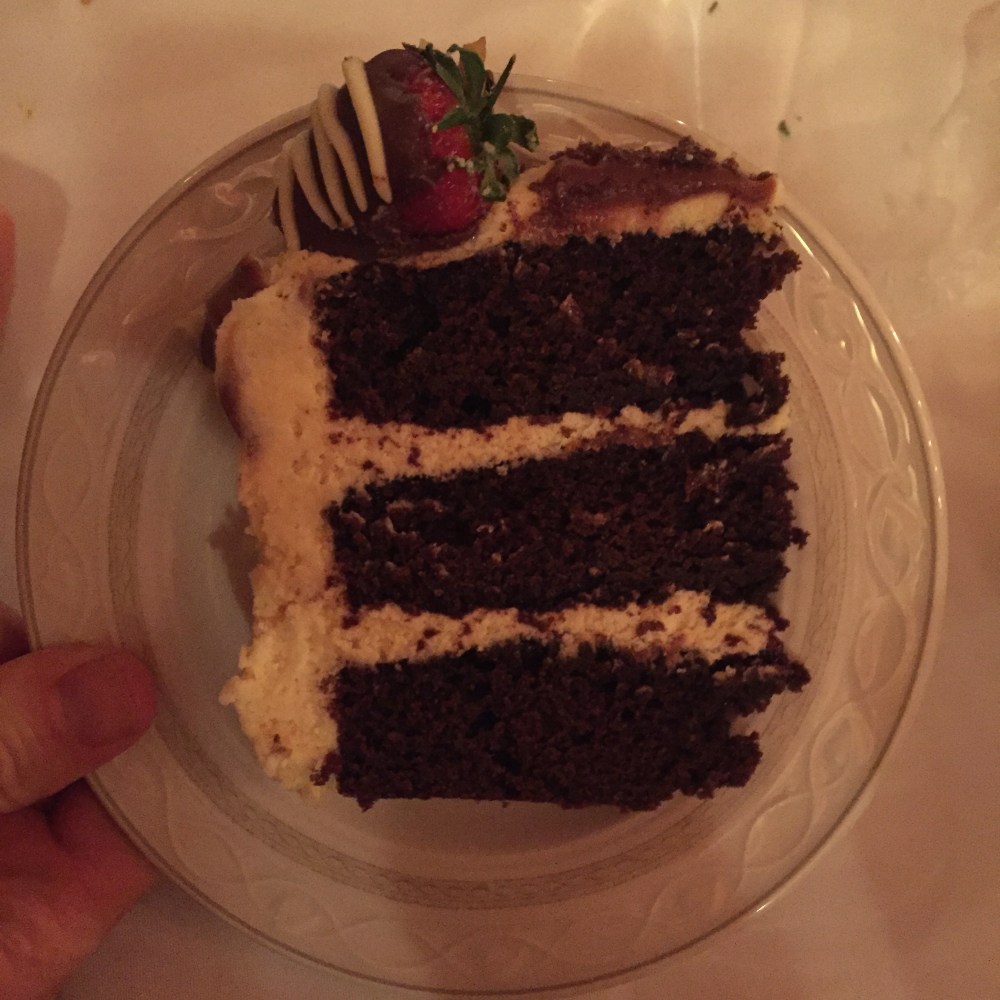

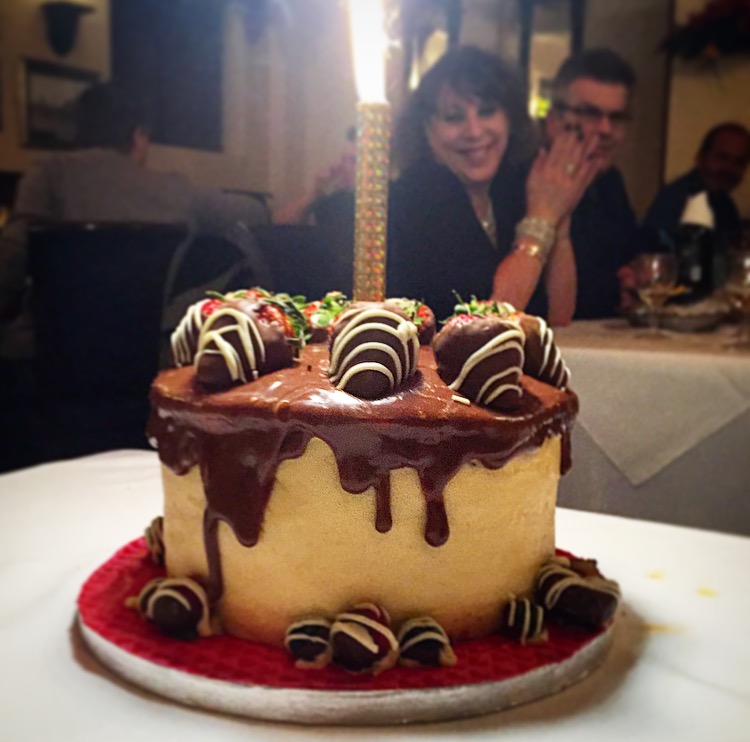
Chocolate, Vanilla & Strawberry Drippy Cake
Serves 14-16
FOR THE CAKES
250g butter
250g light brown soft sugar
4 eggs
175g self-raising flour
75g cocoa powder
½ tsp baking powder
4 tbsp milk
pinch salt
FOR THE BUTTERCREAM
400g unsalted butter, at room temp
800g icing sugar
2 tsp vanilla bean paste
2-3 tbsp milk
2 tbsp strawberry jam
FOR THE DRIZZLE
100g dark chocolate, finely chopped
75ml double cream
TO DECORATE
about 10 Strawberries
melted white and milk or dark chocolate
(TIP milky bar buttons work well for melting for the white chocolate, melt over a pan of barely simmering water. You’ll need about 75g of milk or dark chocolate and about 50g of white)
Heat the oven to gas 4, 180°C, fan 160°C. Line the bases and grease the sides of 3 x 18cm (7in) loose-bottomed cake tins. In a stand mixer, or using a hand-held mixer, beat together the butter and sugar until pale and fluffy. Add the eggs one at a time, then the milk and lastly mix in the flour, cocoa and baking powder.
Divide the batter between the prepared cakes tins (if you want to be precise weigh it, it was about 330g per tin) and bake for 25 minutes, or until risen and springy to the touch. Leave to cool in the tin for 5 minutes, before turning out onto a wire rack to cool completely.
Make the buttercream; mash the butter and the icing sugar together in a large bowl, this will stop your kitchen being sprayed with a cloud of icing sugar. Once mashed beat with electric mixers until pale and fluffy. Add the milk and vanilla and beat for about 45 seconds more.
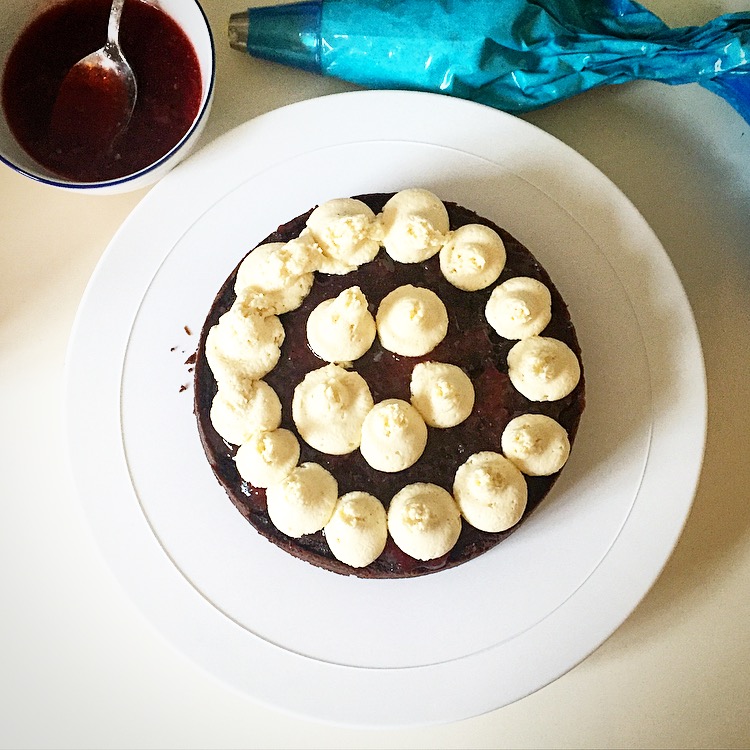
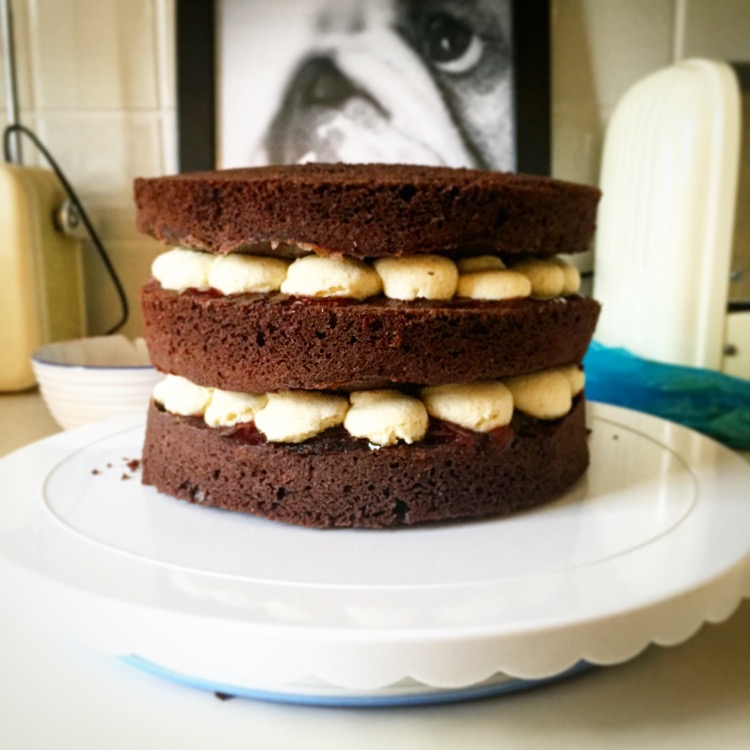
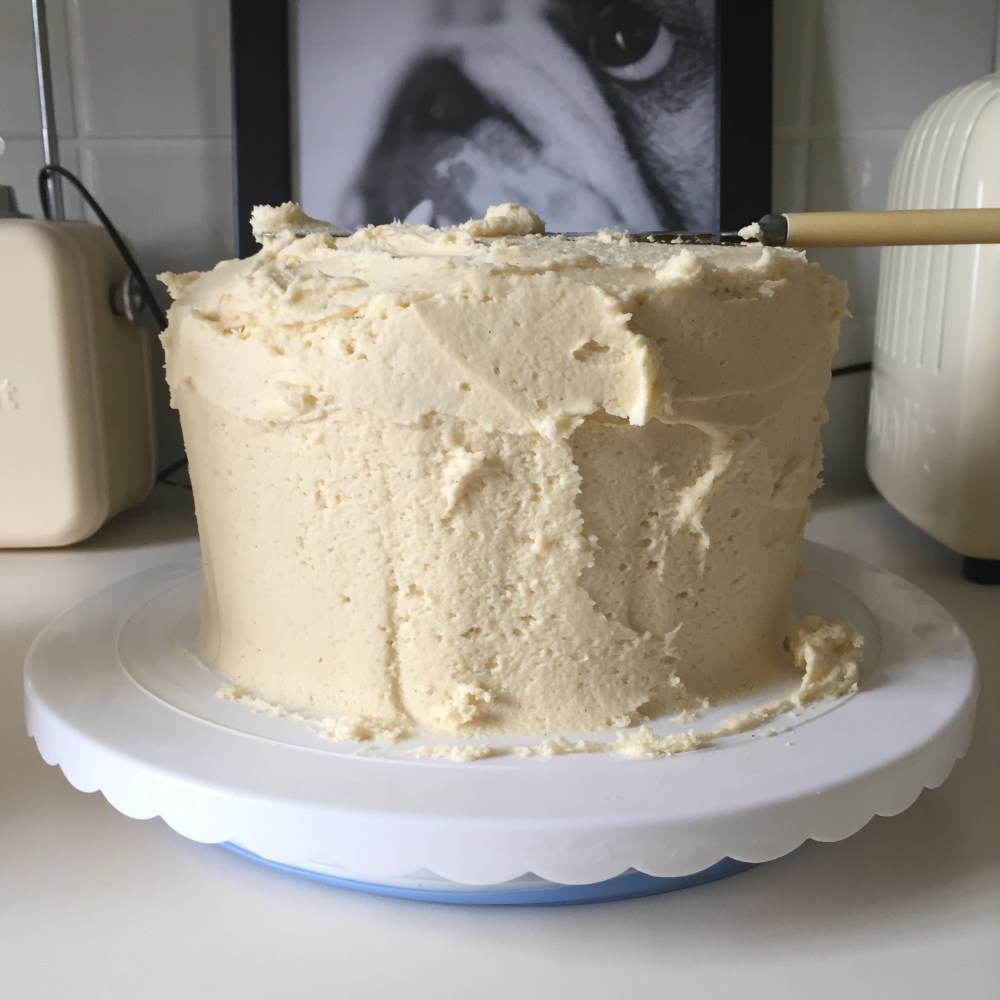
To assemble: Stick one of the sponges on a cake stand with a little of the icing. Spread on half the jam and then pipe or spread a spoon of buttercream on the cake using a pallet knife. Repeat with another layer, choosing the neatest one for the top, placing it flat side up. Next use a palette knife to roughly cover the entire cake with a thin layer. Don’t worry too much at this stage this is called a crumb coat and ensures that your final layer is crumb-free. Chill the cake for at least 30 minutes to firm up the icing.
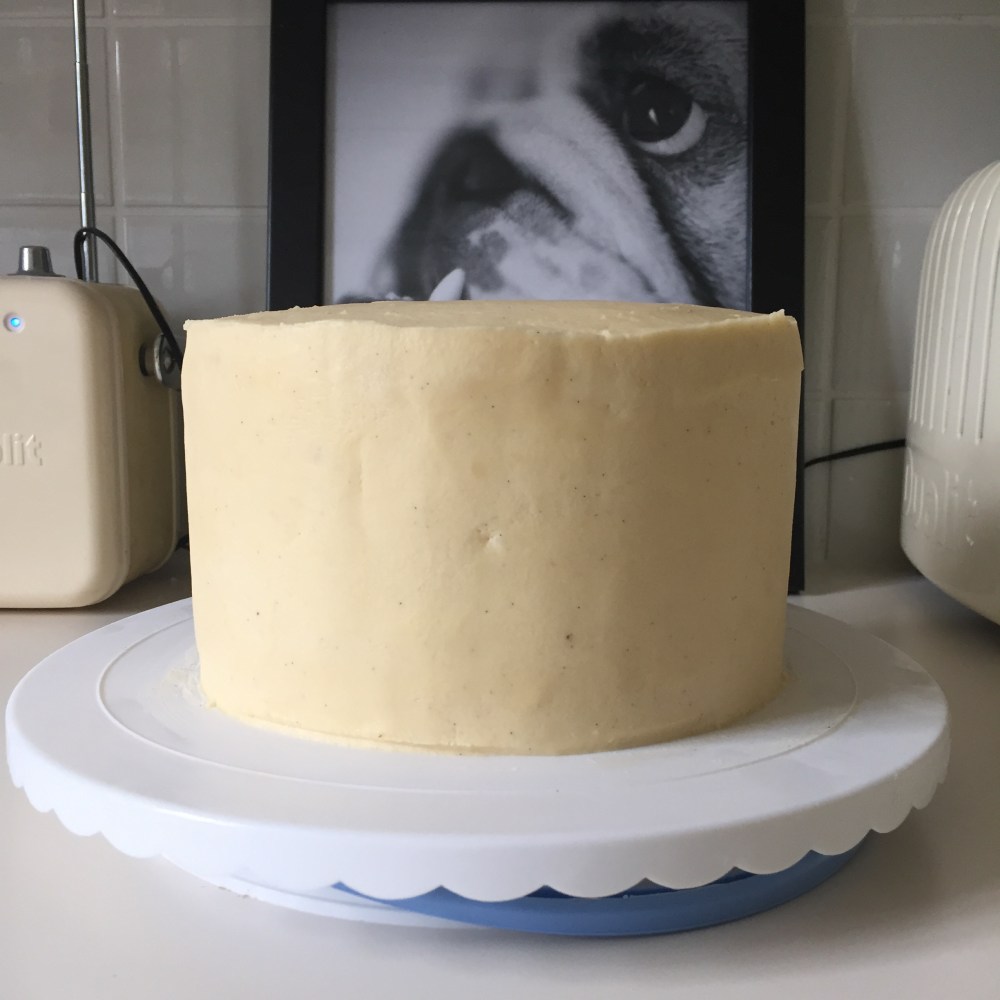
Once the icing is chilled, use the remaining icing to completely cover the cake. This is easiest if you pile the icing on top of the cake, then use a palette knife to ease it over the edge and down the sides. Chill for another 30 minutes.
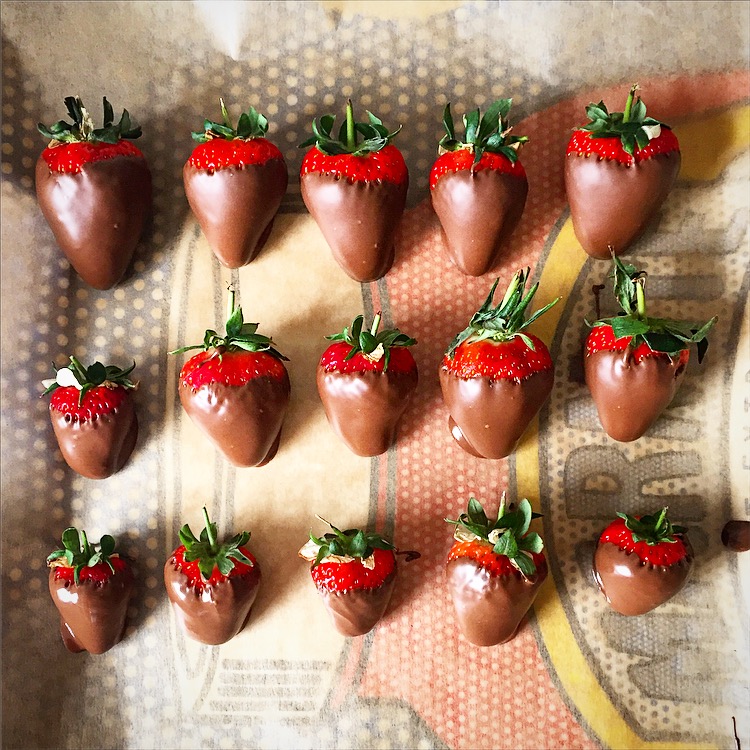
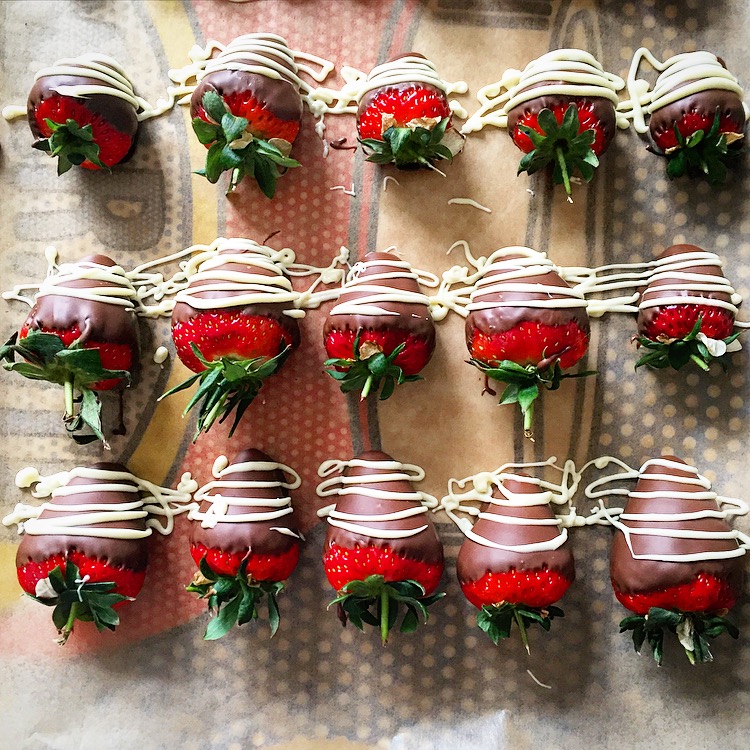
For the strawberries line flat tray lined with non-stick parchment. Holding each strawberry by the stem dip into the melted dark chocolate and then transfer to the tray until set. Put the melted white chocolate into a small piping bag or sandwich bag with the corner snipped off. Drizzle lines across each strawberry. Allow to set.
Make the drizzle. Finely chop or grate the dark chocolate and pop into a bowl and heat the cream in a small pan until just steaming. Pour the cream over the chocolate and leave to melt for 5-10 mins. Stir to make a glossy ganache, and then set aside until it reaches the correct constancy, it will take about 3-5 minutes, it needs to be pourable but not too runny, transfer to a piping bag or a sandwich bag.
Remove the cake from the fridge, snip the end of the piping or sandwich bag, you want a thin controllable stream so don’t cut off too much. Pipe ganache over the edges of the cake, so it drizzles down the side, start at the back of the cake to get the hang of it. Fill in the middle of the top of the cake with chocolate too. Decorate with the chocolate covered strawberries.
