Lots of people told me I was crazy for making my own wedding cake…but then again lots of people say lots of things, so I ignored them and did it anyway! The reason it was so important to me was not because I am a control freak who wanted to take over everything (although I am actually a bit of a control freak) but more importantly than that I really wanted to contribute something integral to the day.

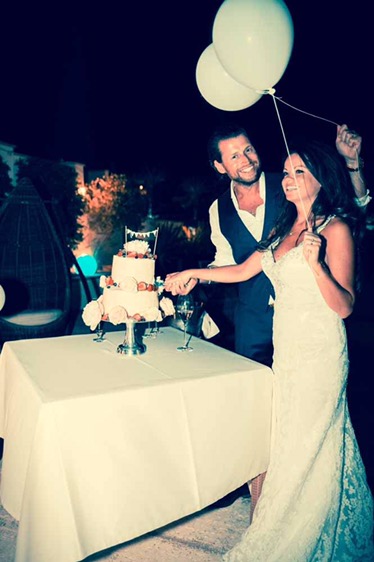
When planning a wedding, although as a bride you’re making lots of decisions, most of the time it’s other people who are doing the real hard work. Your friends and family bend over backwards just to make sure you have the most amazing day possible. For months before you’re treated so kindly; from the engagement to the hen party people go out of their way just to make you feel special. It has to be one of the most humbling experiences for me so far, the effort that my wonderful friends and family all went to, even flying out to Portugal, just for us! There were so many thoughtful gifts, cards and tokens given to us in the build up that I thought a slice of homemade cake (or three) may go someway to showing my appreciation.

For anyone who may be reading this that is currently struggling with their own anxiety my message to you is this: never give up hope, never stop working towards your goals or believe that things wont get better. Relationships can be incredibly difficult for those suffering with mental health issues, but there are so many wonderful people out there who can and want to help you get better. At one point in my life if someone had told me I would be getting married in a few years I would have thought they were crazy. I felt so out of control with my anxious thoughts and was making bad decisions because of it. When you meet the right person they don’t exploit those weaknesses and use them for their advantage, as had happened in the past with lots of my relationships. Instead they help you grow and flourish and become the beautiful person that they know you can be. My husband loved me even when I didn’t have the strength to love myself, he believed in me when I lost all hope and he stayed with me when all I wanted to do was leave.

Find someone who makes you want to be the best version of yourself, who gives you confidence and the strength to grow. Cut out negative influences, stop caring about what negative people think. Anyone who writes a mean comment or tries to make you feel bad about yourself is only a reflection of their unhappiness and no reflection on you. I urge anyone who is struggling to examine their environment as often the cause and the cure is closer than you think.
“When a flower doesn’t bloom you fix the environment in which it grows, not the flower”
– Alexander Den Heijer


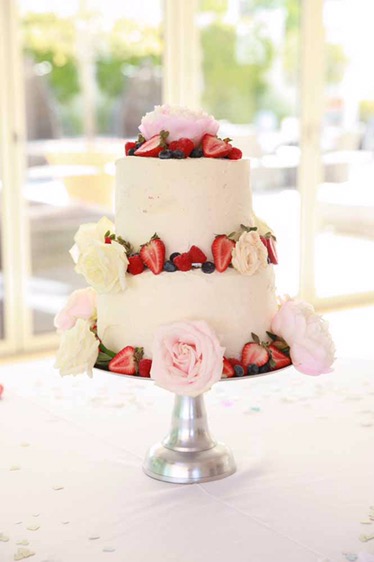
You may notice that there are actually two different cakes in the pictures. As I was writing my own recipe I thought it was best to test it out before hand in a trial run. I had lots of gypsophila at home so used this for decoration. The florist who did my flowers in Portugal (where my wedding was) delivered me some roses and peonies but no gypsophila so I just had to roll with it. You can pick whichever flowers you prefer and luckily you have two different ones to look at!


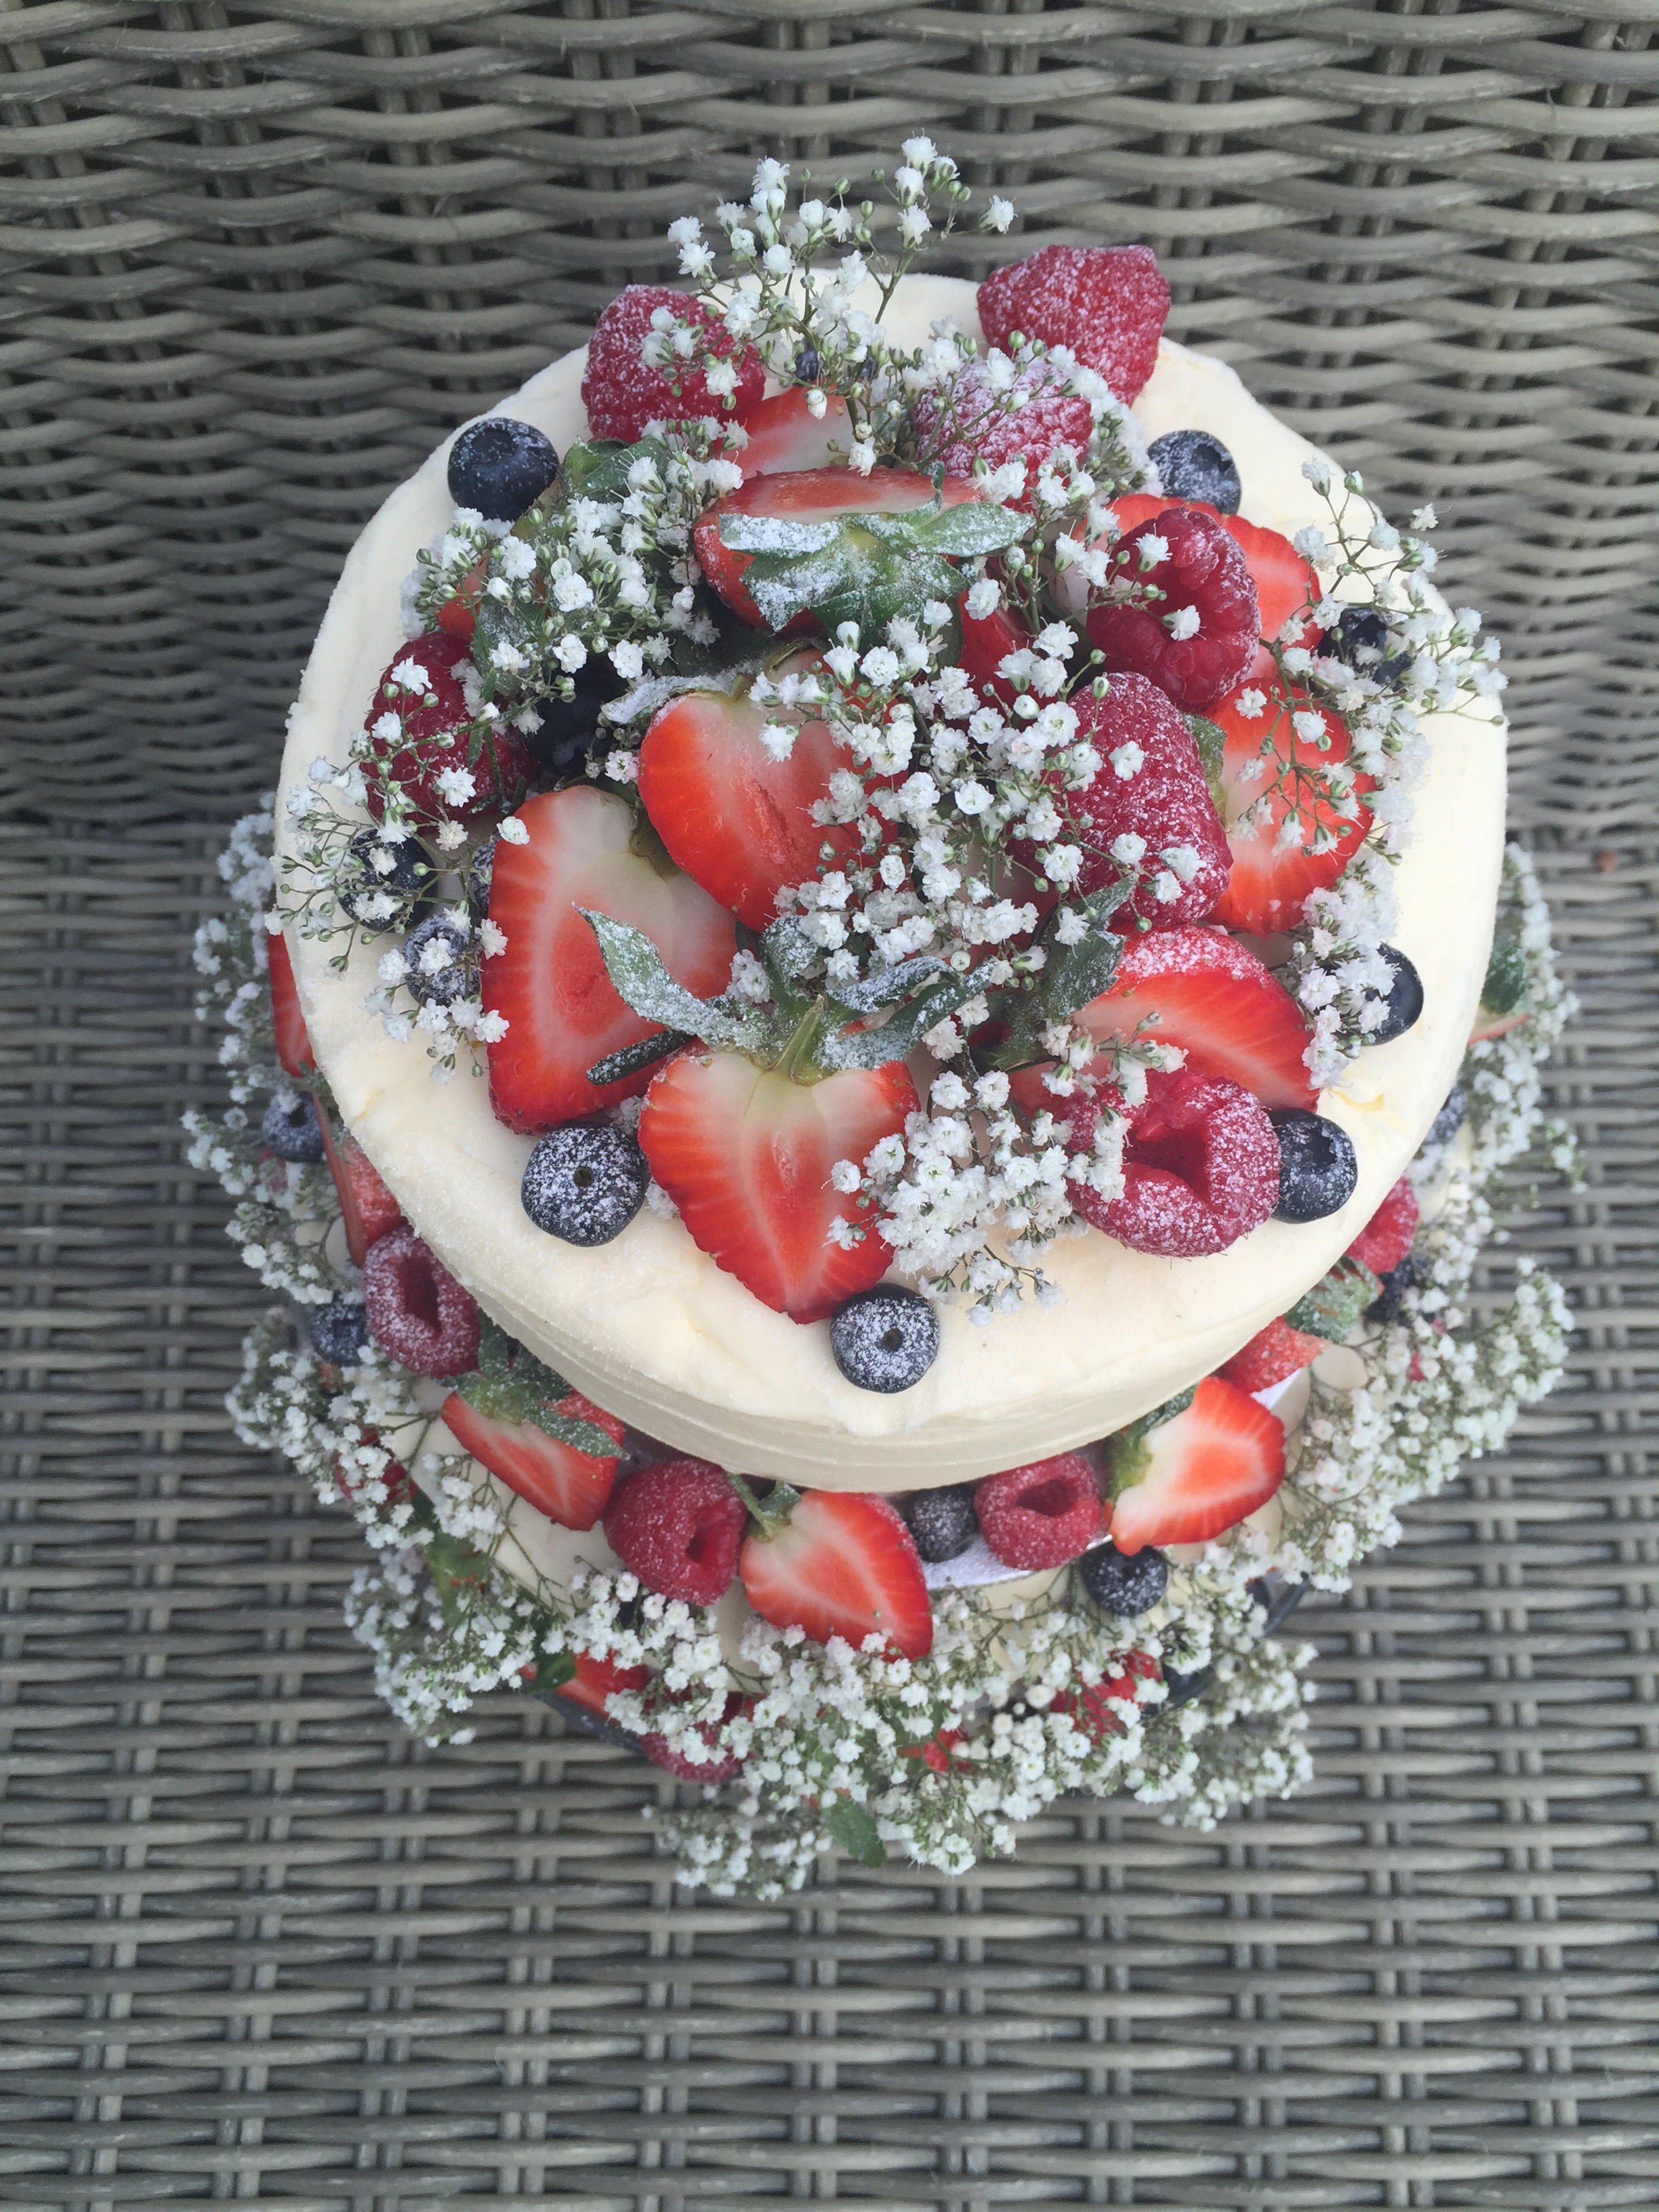


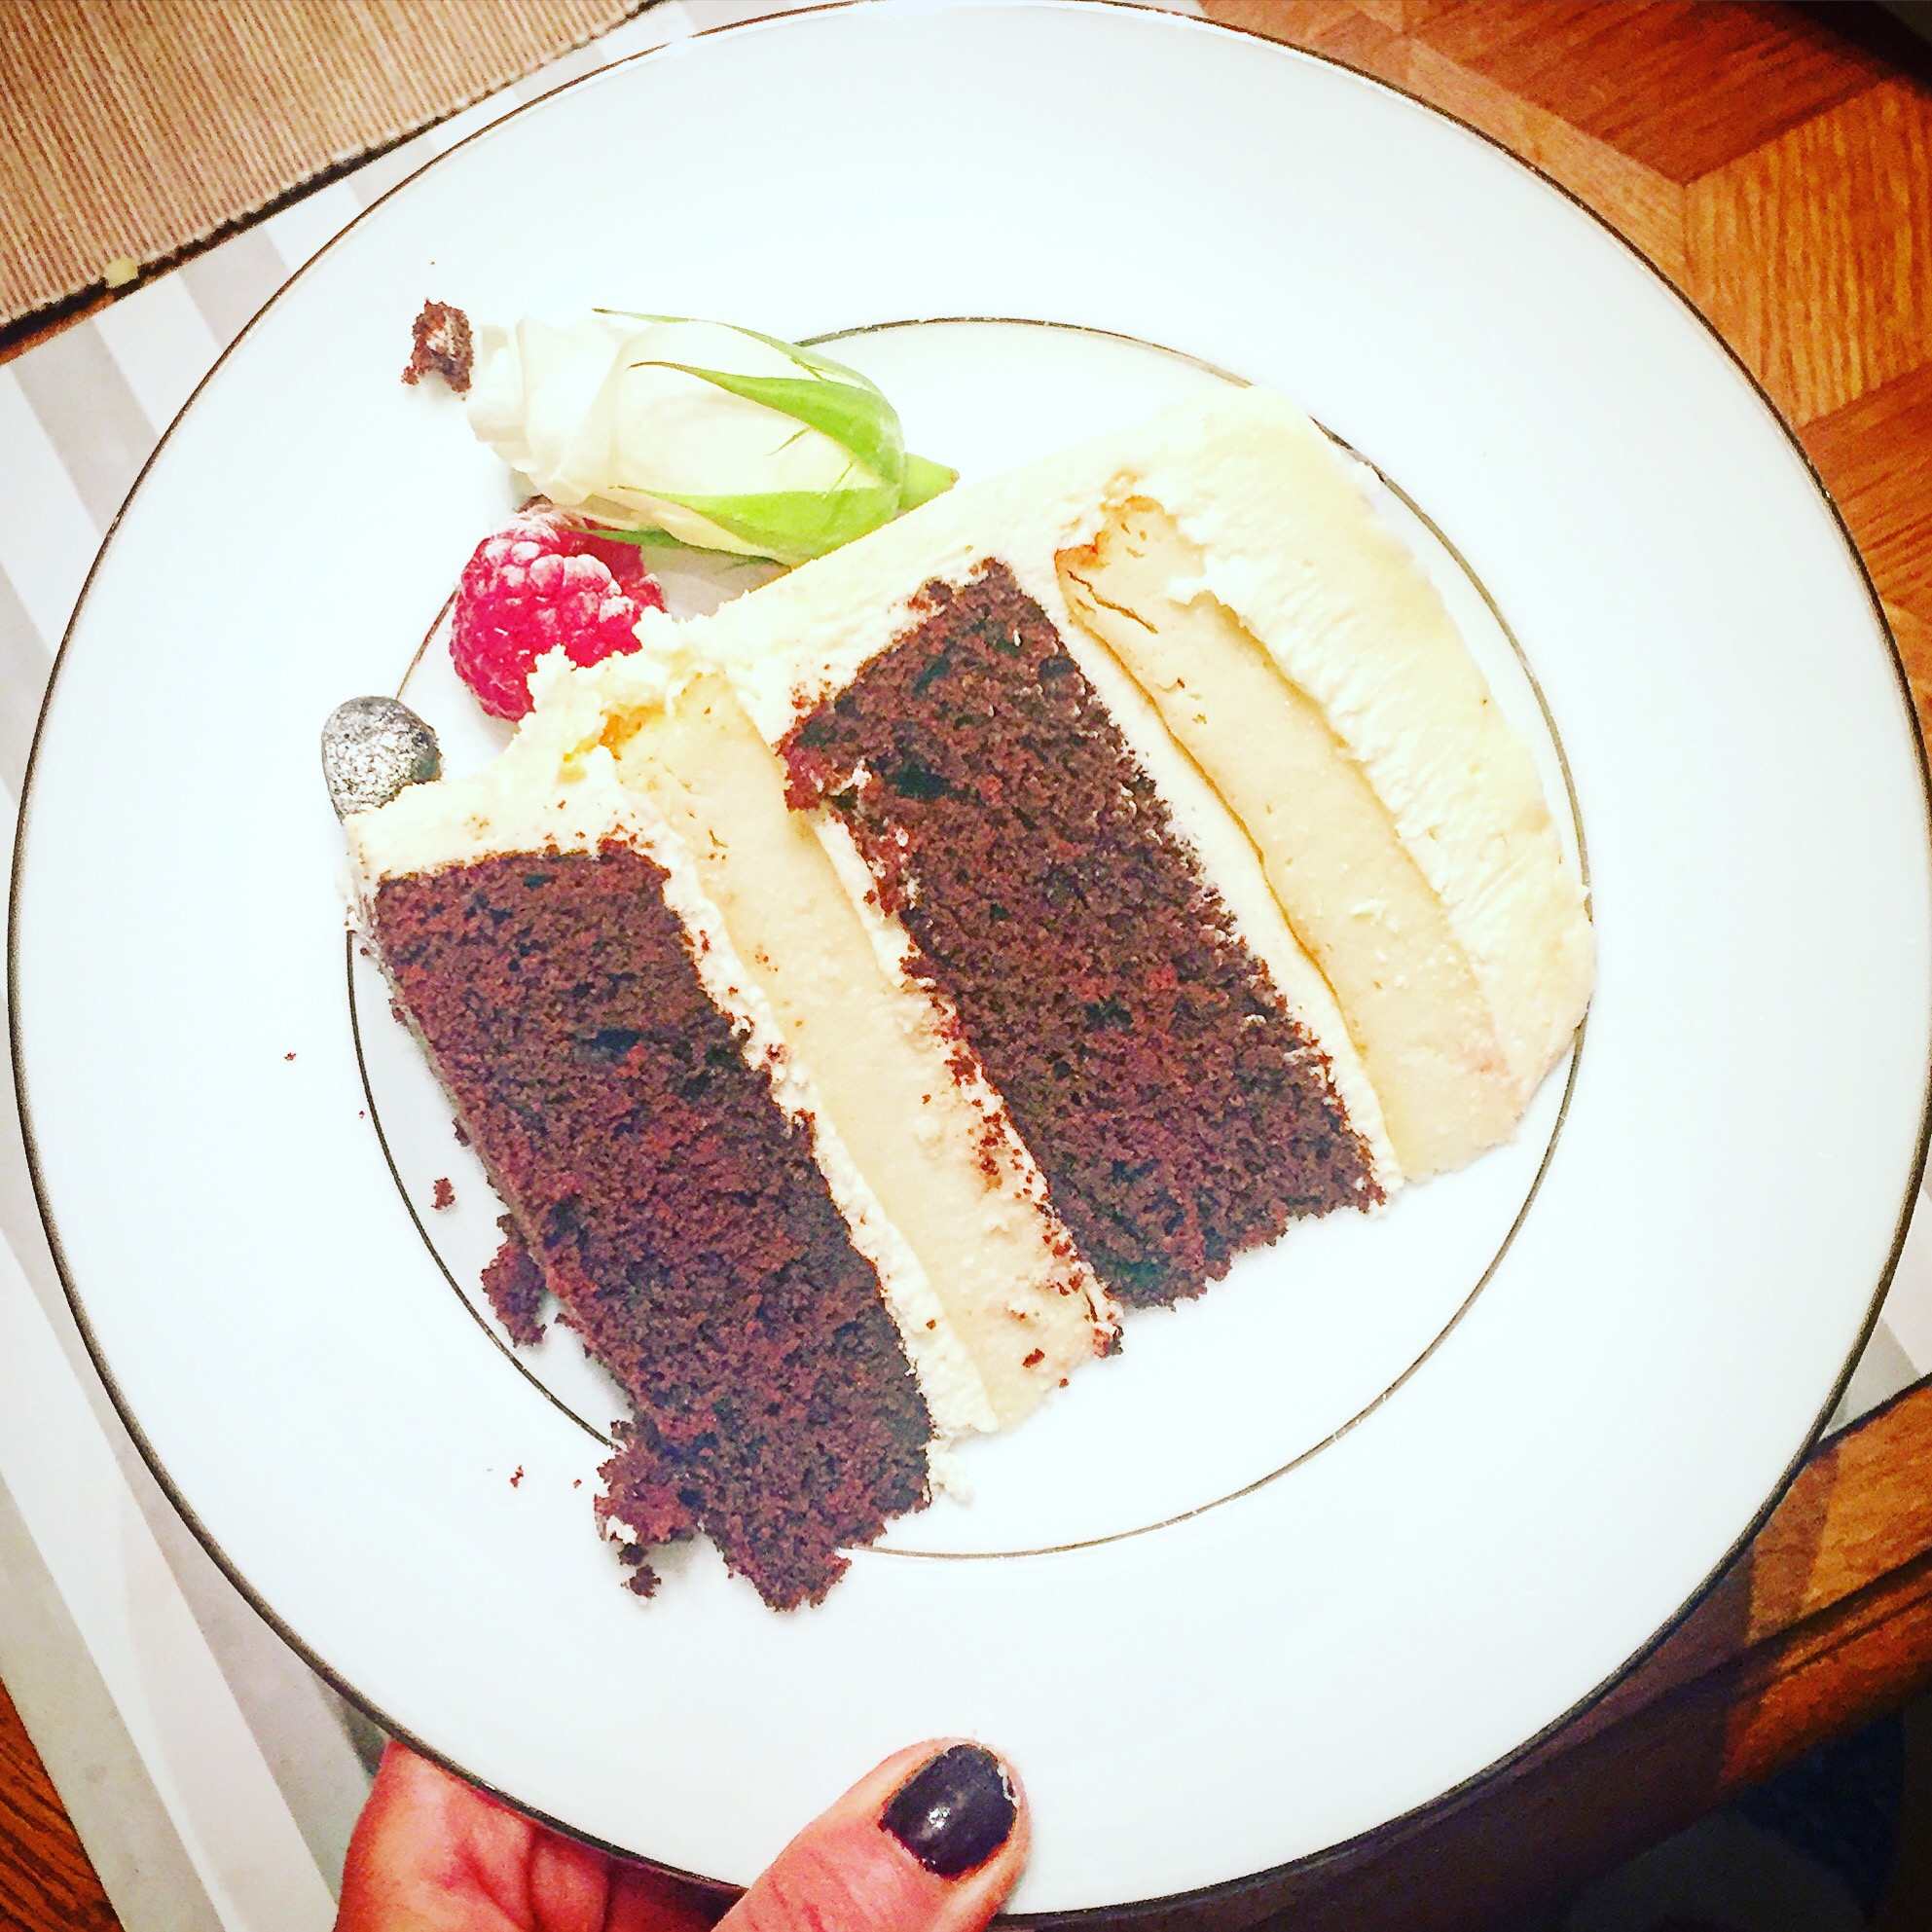


Red Velvet & Vanilla Baked Cheesecake Wedding Cake
Serves 60
RED VELVET LAYER
425g unsalted butter, very soft (room temp)
425g light brown soft sugar
7 large eggs, beaten
375g self-raising
75g cocoa powder
1 tsp bicarbonate of soda
8 tbsp buttermilk
1 tsp white wine vinegar
Red food colouring paste (I used sugarflair Red extra paste)
CHEESECAKE LAYER
1350g full fat soft cheese
450g caster sugar
6 tbsp plain flour
1 tbsp vanilla bean paste
450ml sour cream or crème fraiche
6 large eggs
FOR THE BUTTERCREAM
2.5kg icing sugar
1.25kg unsalted butter, very soft
1 tbsp vanilla bean paste
about 6 tbsp milk
to decorate a selection of berries and flowers (Gypsophila, roses and peonies all work really well)
two cake boards just slightly larger than your tins
Heat oven to 170C/150C fan/Gas 3. Grease and line the bases of 2 x 7 inch/18cm springform tins and 2 x 9inch/23cm springform tins.
Make the cheesecake layer first. Put all the ingredients in a really big bowl, then beat with electric mixers until smooth, 1-2 minutes. Divide between the four prepared tins, if you weigh the amounts the layers will be more even, you need about 550g in each of the small tins and 750g in each of the big tins.
Cook for 50 minutes, then check, they should be set with a slight wobble in the centre, continue cooking for 5 mins more if they aren’t quite set enough. Remove and leave to cool completely in the tins before carefully removing and transferring to a flat plate or board in the fridge until you need them.
Heat oven to 180C/160C fan/Gas 4. Once you’ve washed your tins you can re-line with parchment and grease them well again. Beat the soft butter and sugar until really fluffy, a couple of minutes. Add your red colouring paste, a little at a time, I use a cocktail stick, you want a really vivid red colour. Add the eggs, little by little, beating well between each addition.
Fold in the flour, cocoa, vinegar and bicarb with a large metal spoon until well combined and no floury patches remain. Check the colour, add a little more food colouring paste if you need to.
Divide between the four prepared tins, if you weigh the amounts it will be more even, you need about 375g in each of the small tins and 550g in each of the big tins.
Cook for 22-30 minutes (the smaller cakes may be done after 22, the larger slightly longer) until risen and springy to the touch, check with a skewer it should come out clean. Remove and leave to cool completely in the tins before carefully removing. If not icing straight away wrap in cling film until you need them.
Make the buttercream; mash the butter and the icing sugar together in a large bowl; this will stop your kitchen being sprayed with a cloud of icing sugar. Once mashed beat with electric mixers until pale and fluffy. Add the milk and vanilla and beat for about 45 seconds more.
You may want to use a cake turntable to help you ice the cake, it make it easy to spin round and ice all over. Take your large cake board and add a little buttercream to help it stick to the cake. Start with a red velvet sponge, now cover with buttercream spreading out with a pallet knife, then top with cheesecake layer, more buttercream then red velvet, more buttercream and lastly cheese cake.
Next use a palette knife to roughly cover the entire cake with a thin layer. Don’t worry too much at this stage this is called a crumb coat and ensures that your final layer is crumb-free. Chill the cake for at least 30 minutes to firm up the icing. Use a cake lifter to transfer to the fridge. Repeat with the smaller cake.
Once the first coat of the icing is chilled, use the remaining icing to completely cover the cakes again. This is easiest if you pile the icing on top of the cake, and then use a palette knife to ease it over the edge and down the sides. Chill both for another 30 minutes or overnight at this stage if you would like.
To decorate slice the strawberries in half. Using a cake lifter carefully lift your cake and its board onto your stand, make sure the one you choose has a gap for your fruit. Carefully lift the other cake, using your lifter and place it in the centre of the bottom layer. Pile your fruit and flowers on top. You’ll see two designs in the pictures, it depends what flowers are available or what you’re favourite ones are. Dust with icing sugar just before presenting it.
GET AHEAD:
I assembled mine about 11am and they kept it in a cool place until we cut it at 10pm so it will hold. I made the cheesecakes 2 days in advance and the sponge 1 day in advance. Then I iced each layer the night before and kept them in the fridge.

One Comment Add yours